Exploring Different Number Bases With a Hexadecimal Display
What the FFFFFF?
My Hexadecimal display is a Raspberry Pi Pico W project which uses Neopixel RGB LEDs and MicroPython to show what actually happens when you count.
Purpose and design choices
There were three main aims for this project:
- Build a display using addressable LEDs (NeoPixels) to demonstrate what happens when counting in different number bases.
- Bring 6-digit hexadecimal colour codes to life so the colour for a given hex code is bounced off the wall.
- Use a Raspberry Pi Pico W to host a small web server that would control the display and allow for user supplied data to affect what is displayed.
Alternatives to ten
We live in a decimal world where we count and represent numbers with the digits 0 to 9. We understand the digits to mean different things depending on where they are placed. So in the number 1849 we know that the digit 1 means 1000, the 8 means 800, the 4 means 40 and the 9 means 9 ones. As soon as we count to 9 in any place we’ve run out of room and need the next column. This is called base 10 as there are 10 digits.
Each column is worth 10 times more than the column that came before; we have place values that increase by powers of 10.
Representing numbers like this feels normal, like a law of nature. Charles Petzold explains this feeling well in his book ‘Code: The hidden language of computer hardware and software’:
Ten is an exceptionally important number to us humans. Ten is the number of fingers and toes most of us have, and we certainly prefer to have all ten of each. Because our fingers are convenient for counting, we humans have adopted an entire number system that’s based on the number 10.
If we were cartoon characters with 8 fingers then we would run out of symbols for each digit after 7 and would count like this: 1, 2, 3, 4, 5, 6, 7, 10! This is the octal numbering system, or base 8. Here, each column represents a power of 8.
Charles Petzold continues this line of thinking considering how a dolphin with just two flippers would count:
Suppose we were dolphins and must resort to using our two flippers for counting. This is the numbering system known as base two or binary. Now, 0 and 1 isn’t a whole lot to work with, and it takes some practice to get accustomed to binary numbers. The big problem is that you run out of digits very quickly.
A dolphin would count like this: 0, 1, 10, 11. Here, each column represents a power of 2.
Of course, it’s not just dolphins who benefit from a world of only two digits. Modern computing is made possible because of base two, after all an electrical connection either passes a current (1) or does not (0). Through different combinations of switches and a little Boolean magic, computers can store, process and display data in a meaningful way.
Counting beyond 10 requires new symbols. If I was in charge then I would create some fantastic new squiggles and name them like pets, resulting in new numbers like moppity-squidge. However, Swedish-American engineer, John Williams Nystrom got there before me and sensibly settled on the letters A to F when describing a hexadecimal system — base sixteen.
Here, each column represents a power of 16.
The power of hex
Though a computer will only ever understand 1s and 0s, hexadecimal is extremely useful to the fallible humans who program them. One byte of data, or 8 binary bits, can be reduced down to just two hex digits. For example, 10110001 has a decimal value of 177, which in hexadecimal is B1.
My hexadecimal display slowly counts from 000000 to FFFFFF which being equivalent to 16,777,215 seconds would take over 6 months to complete — what a livestream that would be!
Hexadecimal is used as a form of shorthand by programmers, especially when it comes to colour. With six hexadecimal digits, red, green and blue can be allocated two digits each. 00 represents an absence of that colour while FF represents a maximum value of 255. The six digits together combine to create over 16 million colours.
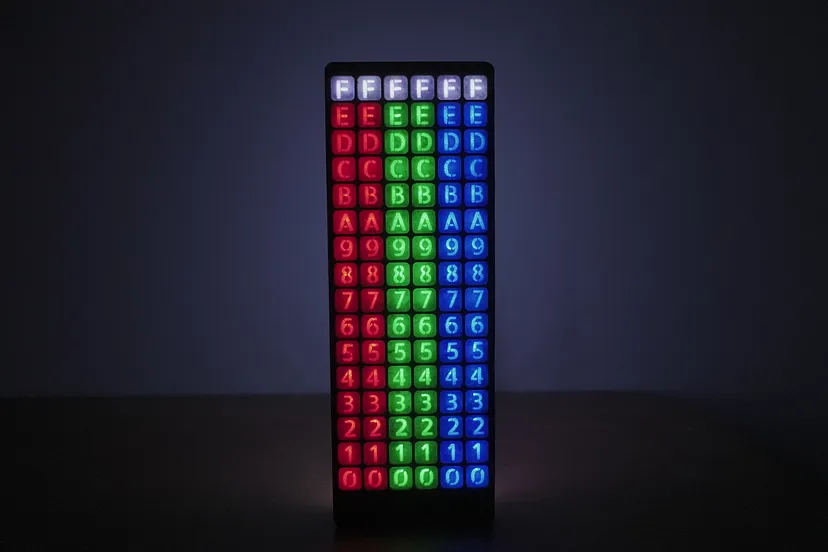
Construction
My hexadecimal display is the follow up to my binary clock project where I used 8 binary bits to tell the time.
A vibrant way to keep time and deepen understanding of the base 2 numbering system
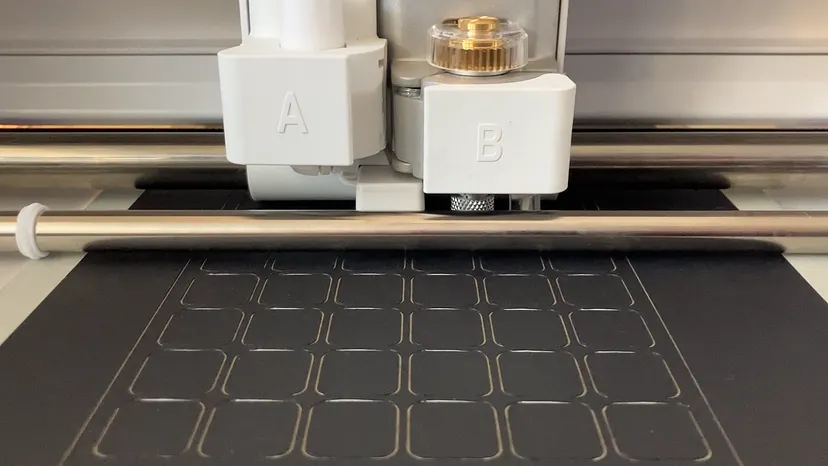
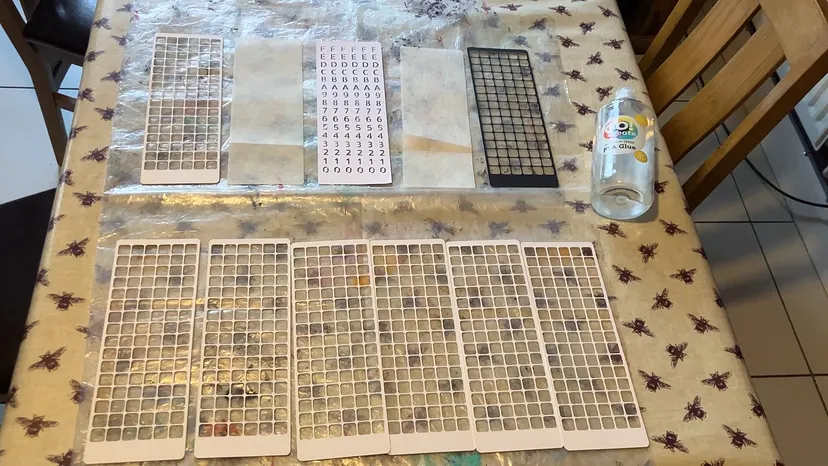
As with the binary clock, for this model I used a Cricut cutting machine to cut layers of artboard, this time with 96 holes cut for the recessed NeoPixel LEDs.
I cut the lettering out of plain office paper then backed them with lutradur fabric to help diffuse the light.
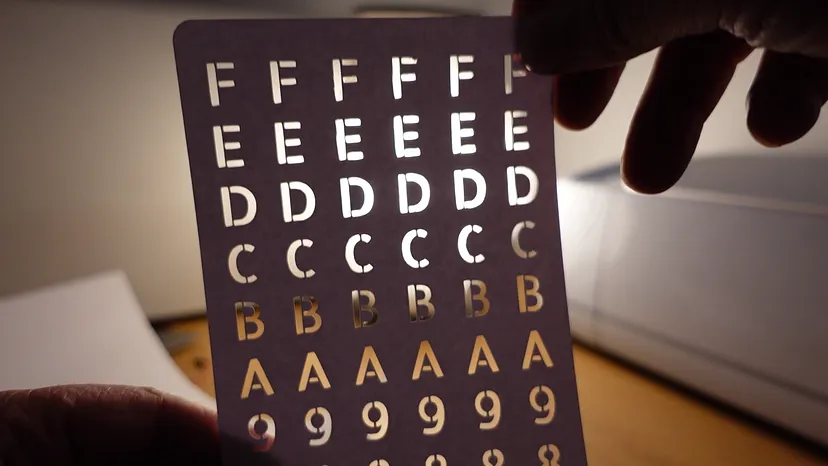
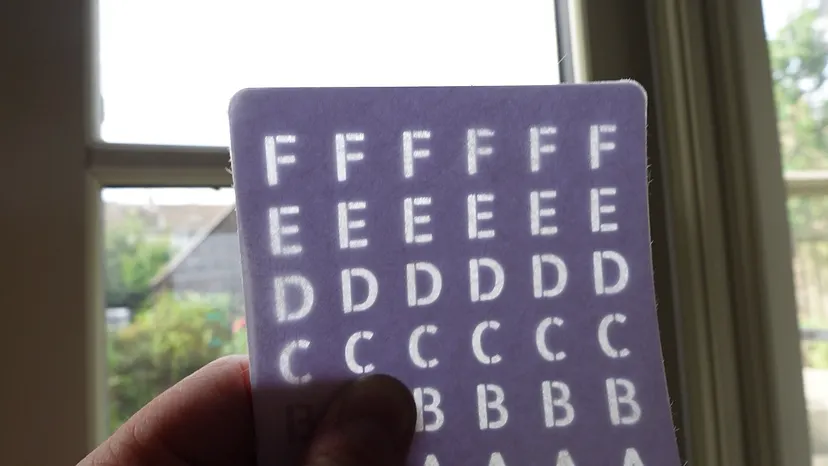
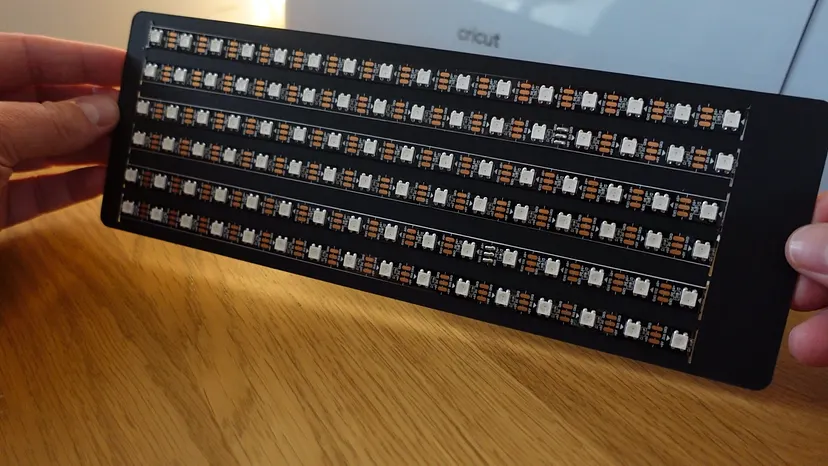
I placed six strips of 16 LEDs on a back piece, and a further 40 LEDs on the reverse to bounce light off the wall. Essentially this is one long chain of 136 LEDs that are controlled individually using the Raspberry Pi Pico W.
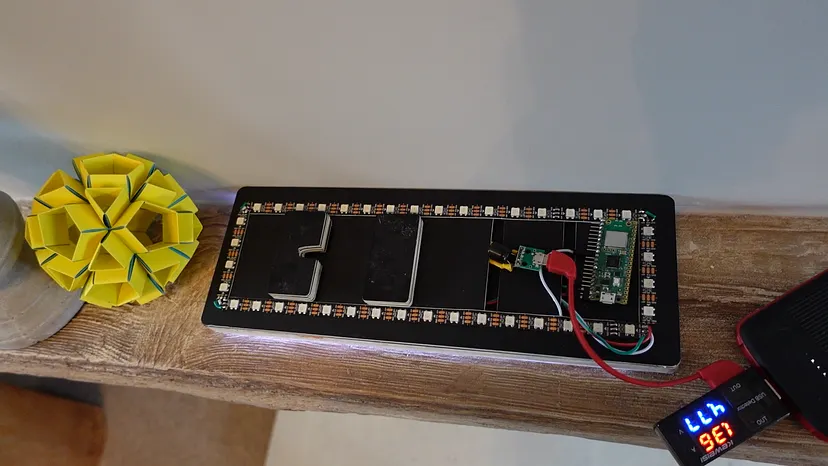
I used a USB ammeter to work out how much current everything drew, then tweaked the brightness within the software to get the value as close as possible to 2 amps, this way I would not be requiring anything beyond a standard USB phone charger to power the lights.
I used a micro-USB breakout board to connect to the power supply, through which the lights and the Raspberry Pi Pico W are powered separately. The Pi is powered through the 5V and a ground pin.
Programming the Raspberry Pi Pico W
You can find the code for this project on GitHub — this also includes an SVG file for a cutting machine.
For a general overview of how I created a web server on the Pico, please refer to my Binary Clock project linked above; I won’t repeat the steps here but instead give an overview of how the model works.
Webserver
I once again followed the guidance on Blaz-R’s GitHub repository to get up and running with the Neopixel library.
Once set up, I had the Pico broadcast its own Wi-Fi network which any device could join and therefore control the lights.
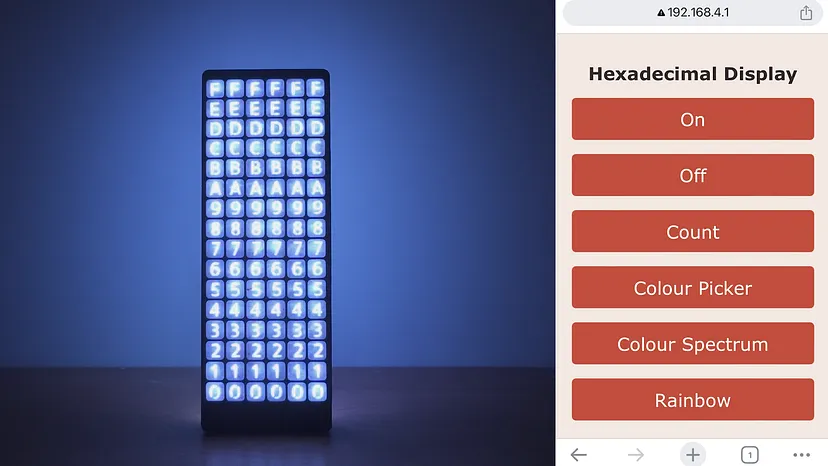
From the menu you are able to pick an option. The ‘Count’ menu allows you to select a number base to count in. The ‘Colour Picker’ menu takes you to a path where you can choose a colour to be displayed in hex code on the front, and as a colour to bathe the wall in on the back.
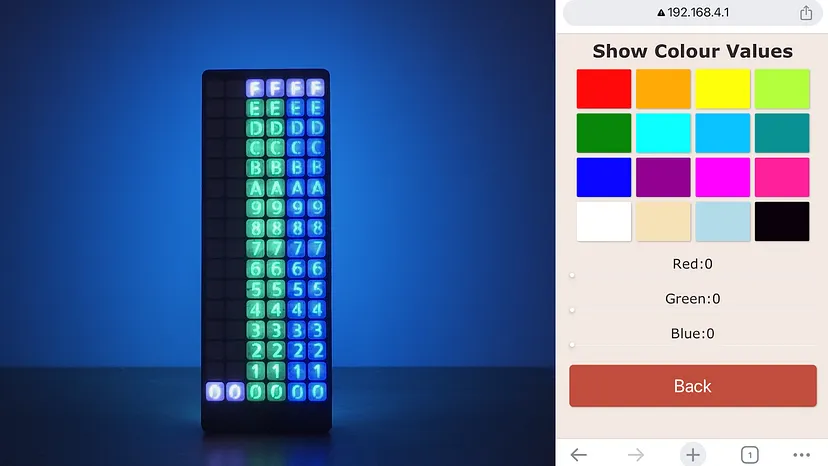
Selecting the ‘Colour Spectrum’ option creates a loop through the colours of the spectrum, gradually fading from red to green to blue and back again. This did not translate particularly well as a GIF so be sure to check out the YouTube video to see this in action:
Selecting the final menu item results in a rainbow rippling along the whole string of LEDs. You are also greeted with this display when a count completes.
If you’ve enjoyed reading this article and would like to see more of my projects please consider following here on Medium or subscribing to my YouTube Channel.