Building a Cardboard Planetarium
A project exploring astronomy and geometry by building an immersive cardboard planetarium.
One trip down a YouTube rabbit hole I stumbled across the ingenious Beals Science Cardboard Planetarium, a geodesic cardboard dome big enough to fit an entire secondary school classroom inside. I thought having a go at making my own scaled down version would be a perfect lockdown project.
Geodesic Domes
I had previously found some interesting dome constructions which set me on the path to finding this calculator for giving dimensions for dome parts. A geodesic dome is comprised of triangles grouped together to make hexagons and pentagons.
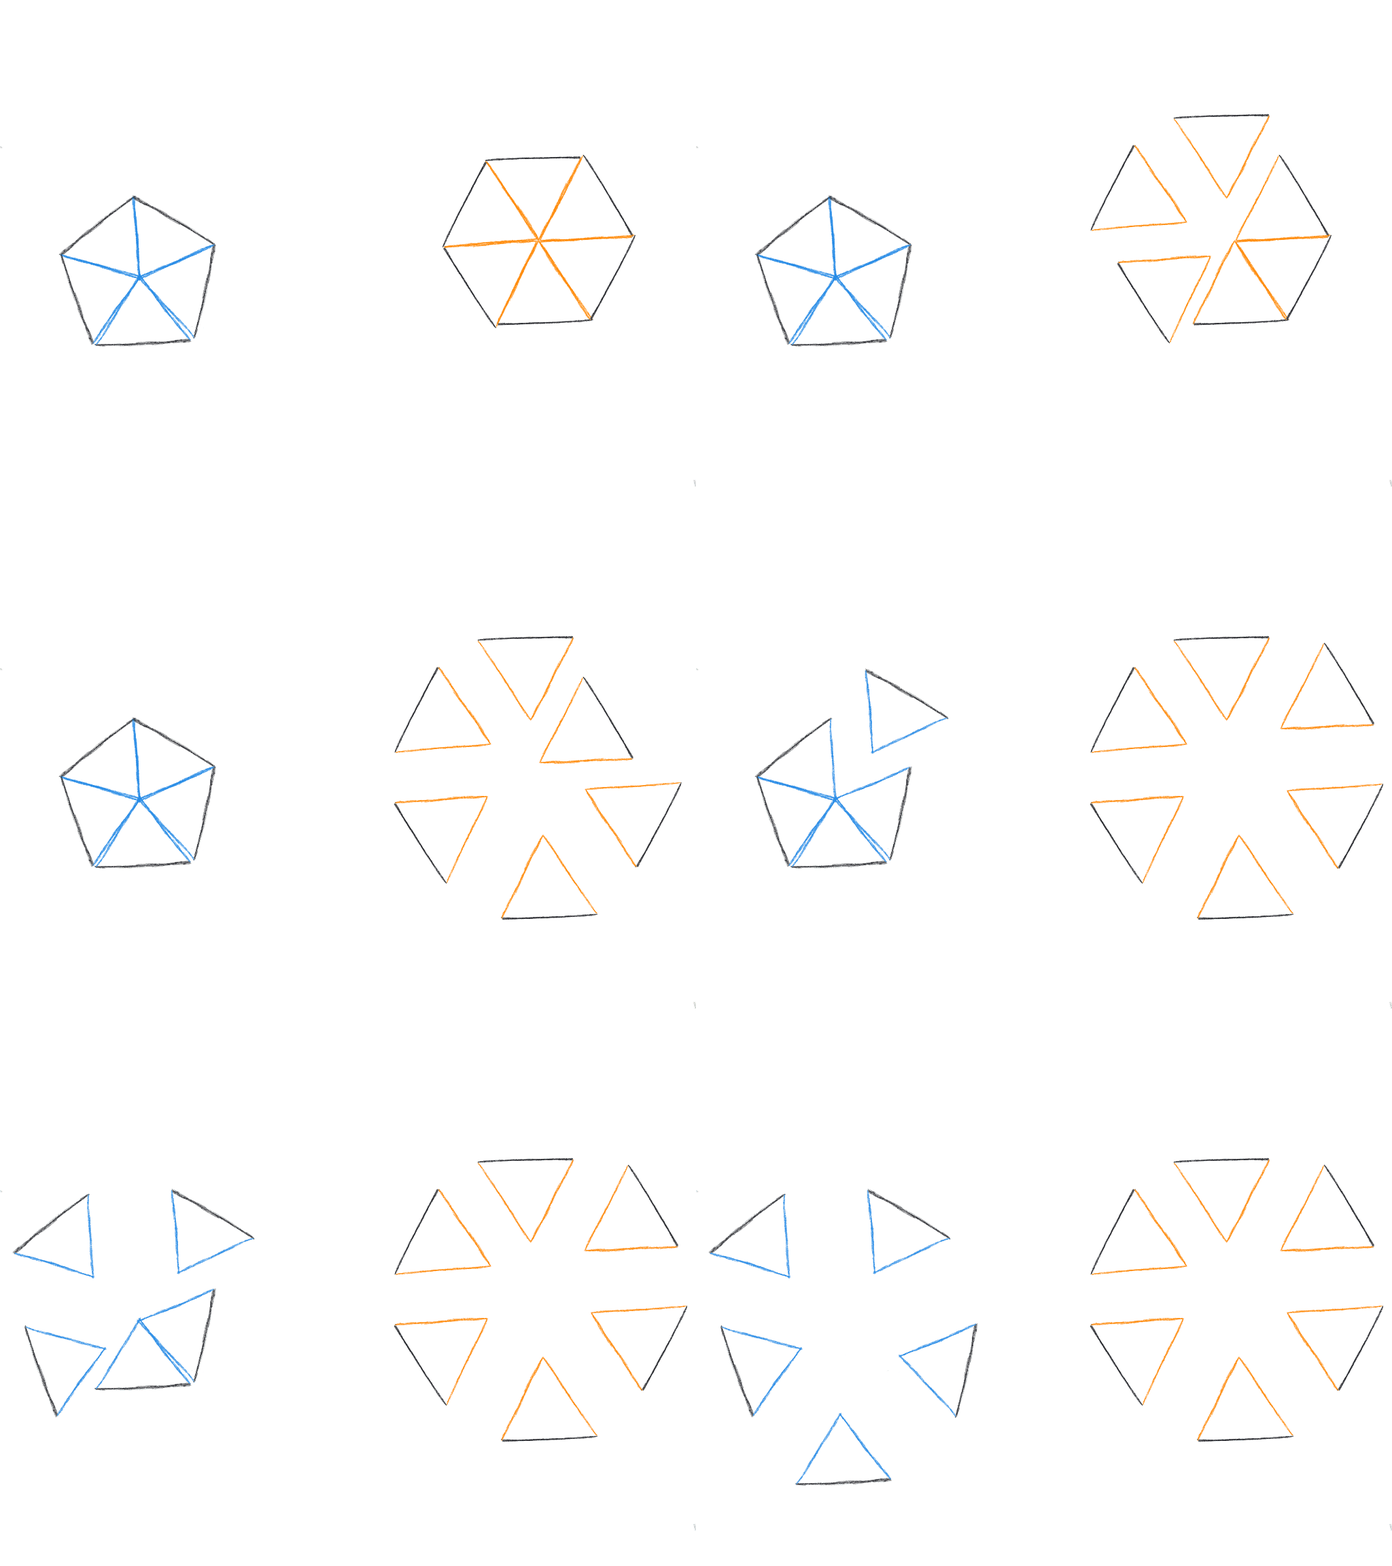
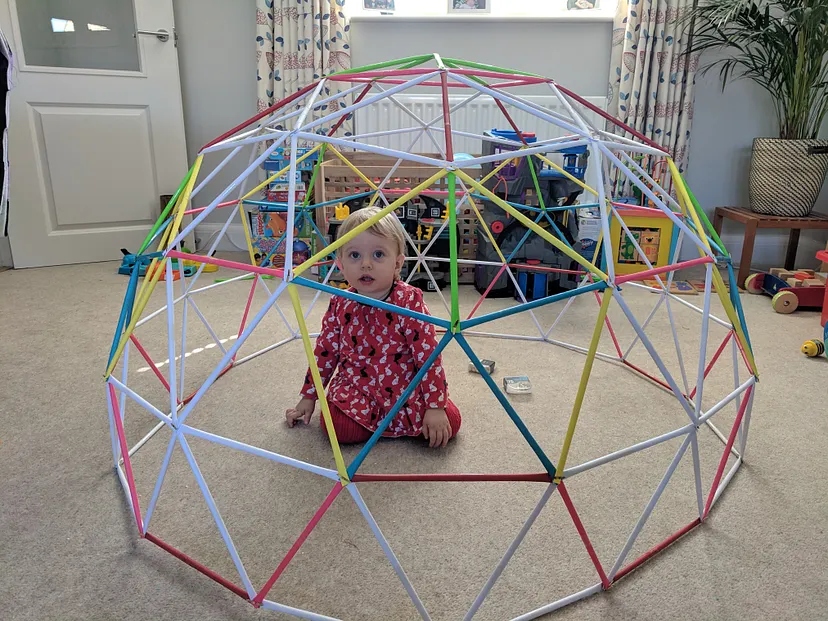
My first exploration of geodesic domes used rolled up paper connected with split pins. And so it was I built a prison for my daughter!
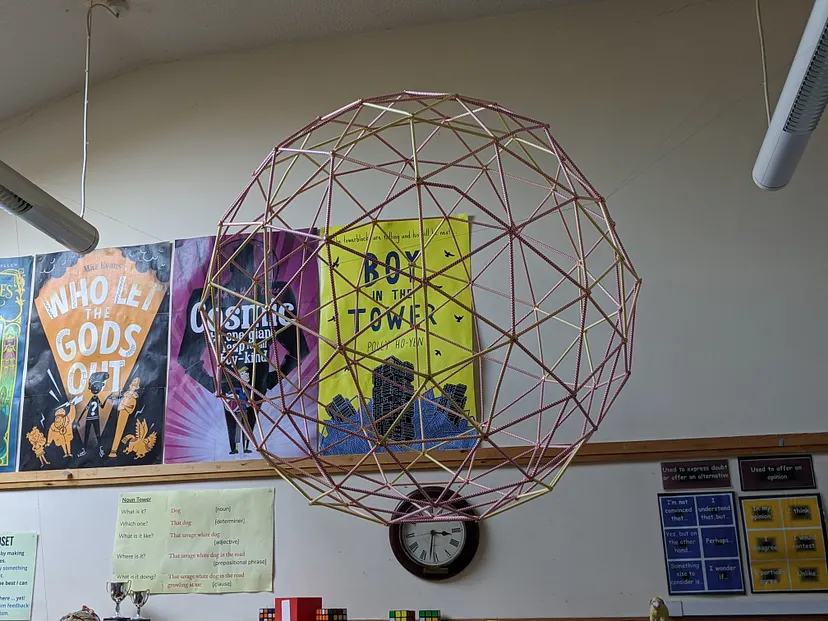
I used the same technique to combine two hemispheres together to create an 'Earth' and 'Sun' to go along with the 'Space' theme in my classroom. The pupils loved helping. It was a genuine team effort as there were many head scratching moments.
Cardboard Planetarium
For the last few years, a company called Space Odyssey has brought a large inflatable planetarium into the school where I work and put on amazing science shows for pupils. This is why stumbling upon the Beals Science cardboard planetarium caught my attention in a big way. I was inspired to build my own as the perfect distraction from Covid-19 and school closures.
The Beales Science project used 240cm by 120cm cardboard to create a dome that was 5m in diameter; I went for the largest dome I could create from A1 double walled cardboard, which turned out to be one with a diameter of 3m. I bought 100 sheets on eBay along with 300 12mm nylon screws to bind the pieces together.
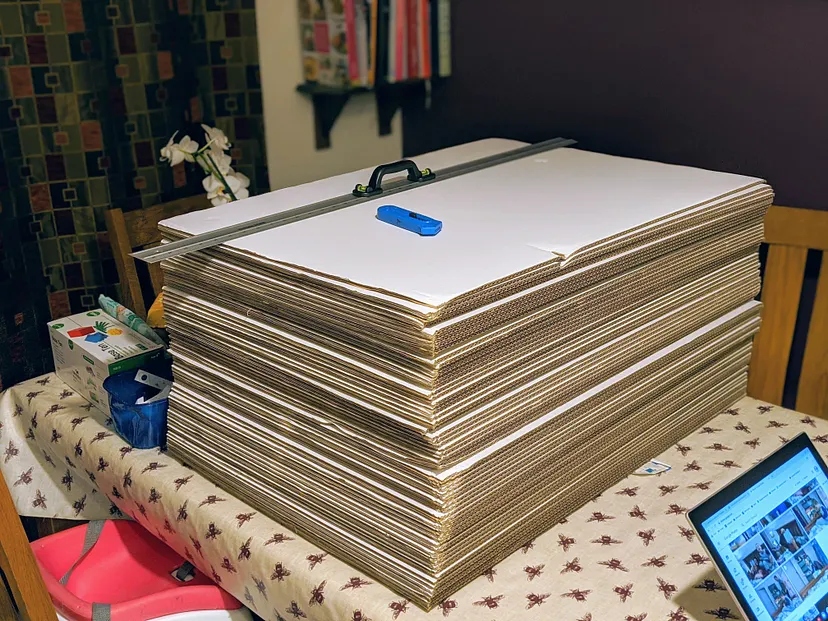
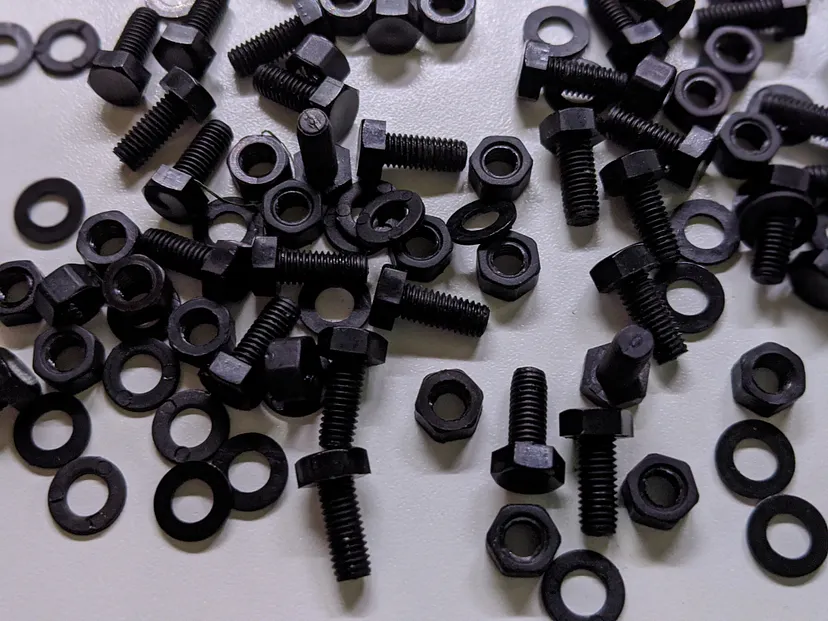
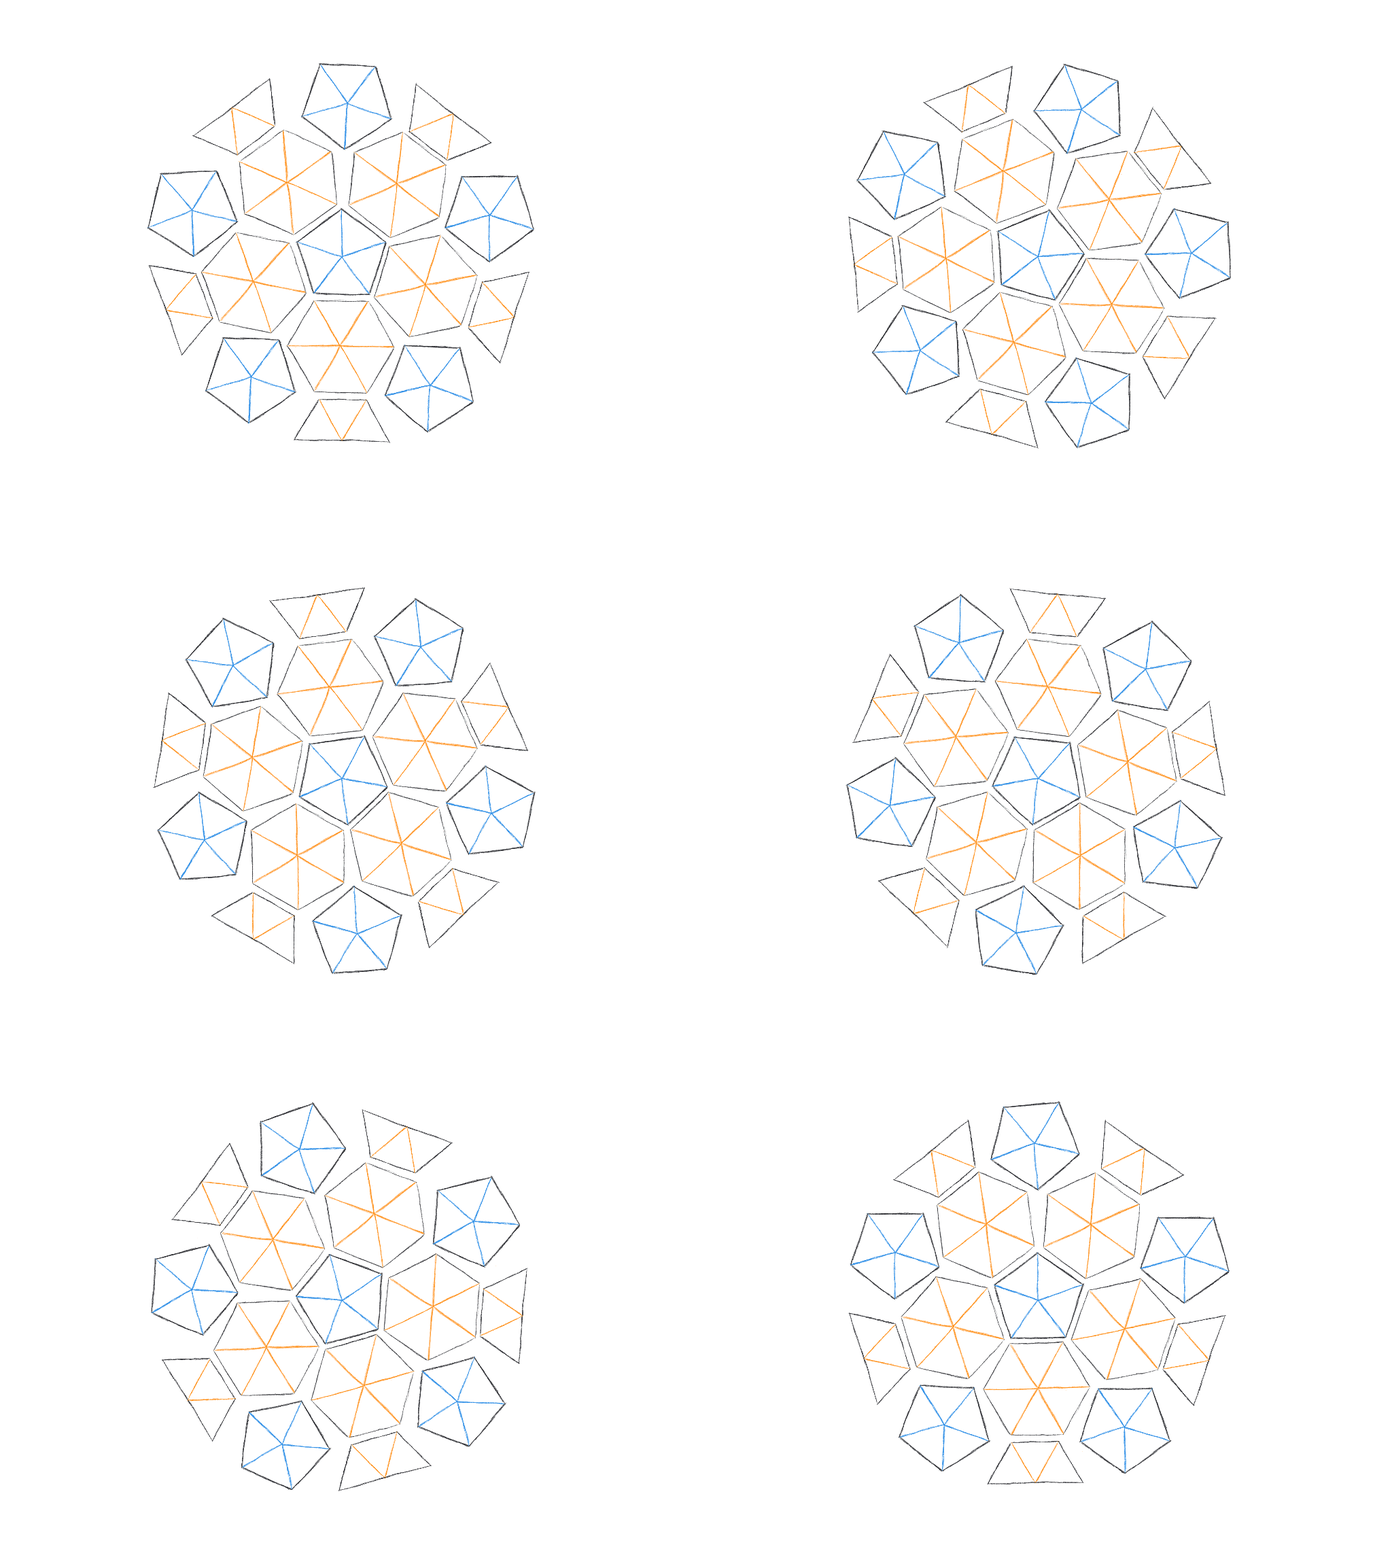
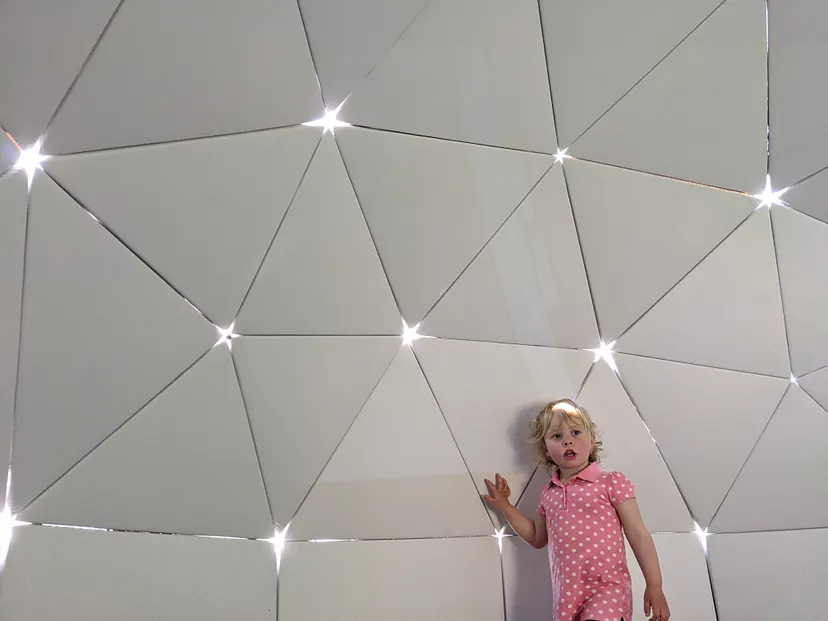
The dome element was made from 75 triangular pieces of cardboard and was given extra height by placing it on 15 rectangular pieces.
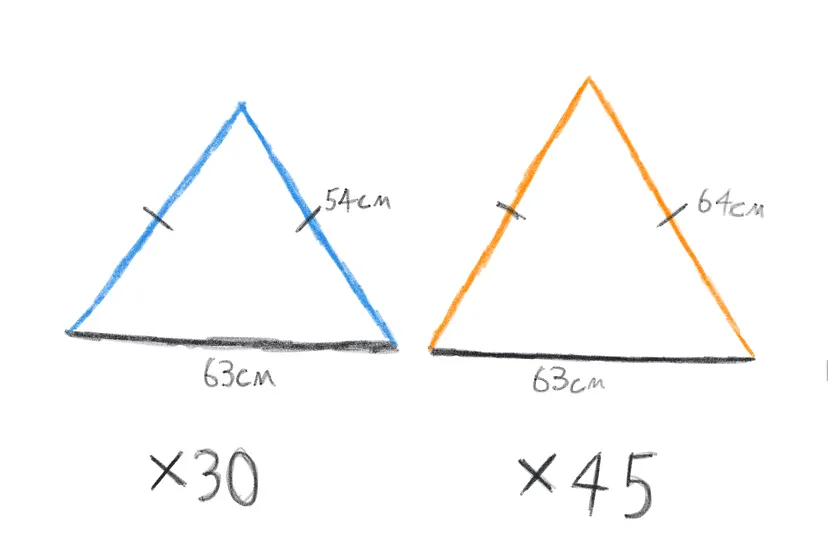
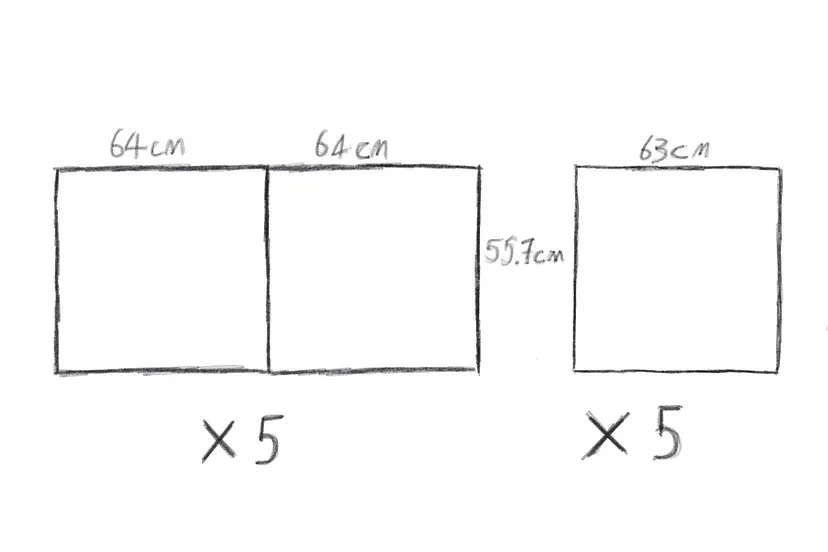
The plans above show how the pieces were put together. Not shown are the 3.7cm tabs along the edges of each shape. I drilled each tab in two places ready for the bolts.
It took most of the day to put up, but I was pretty pleased with the result.
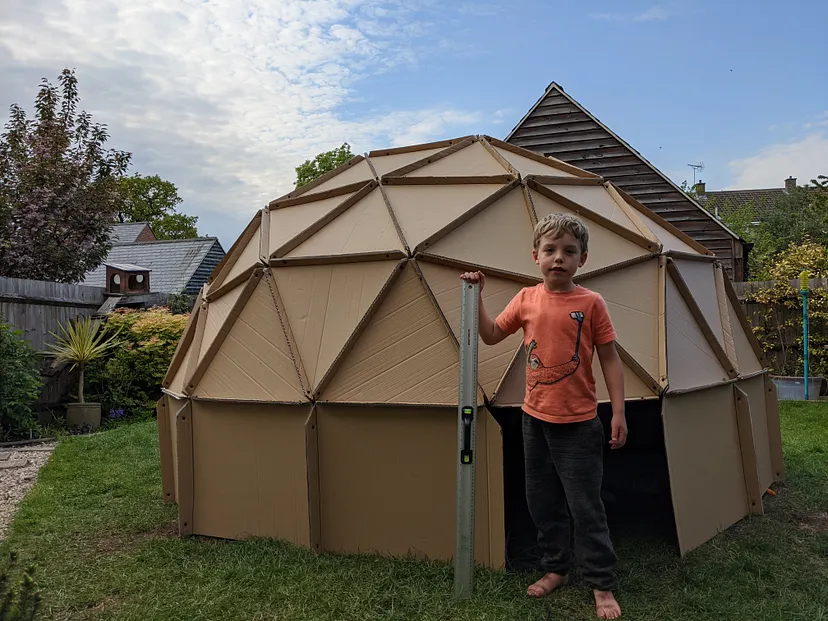
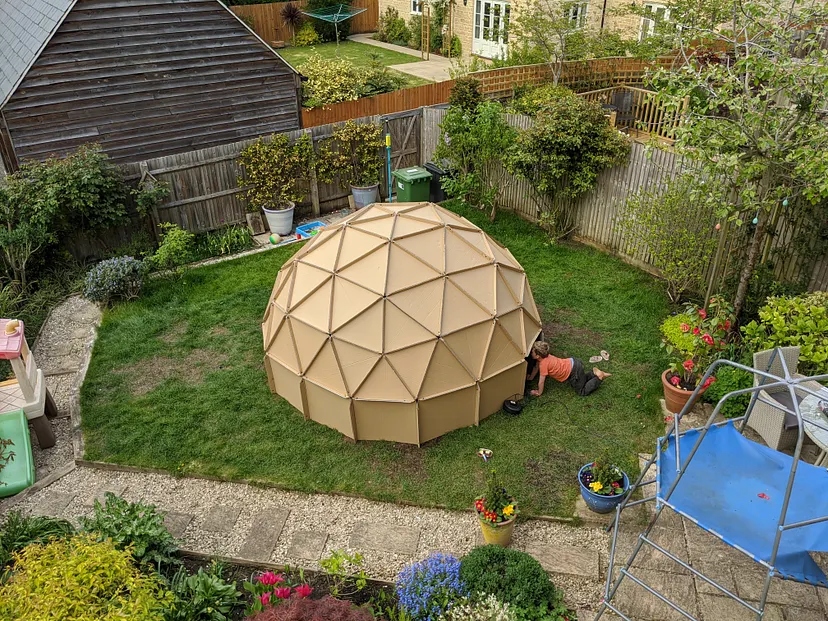
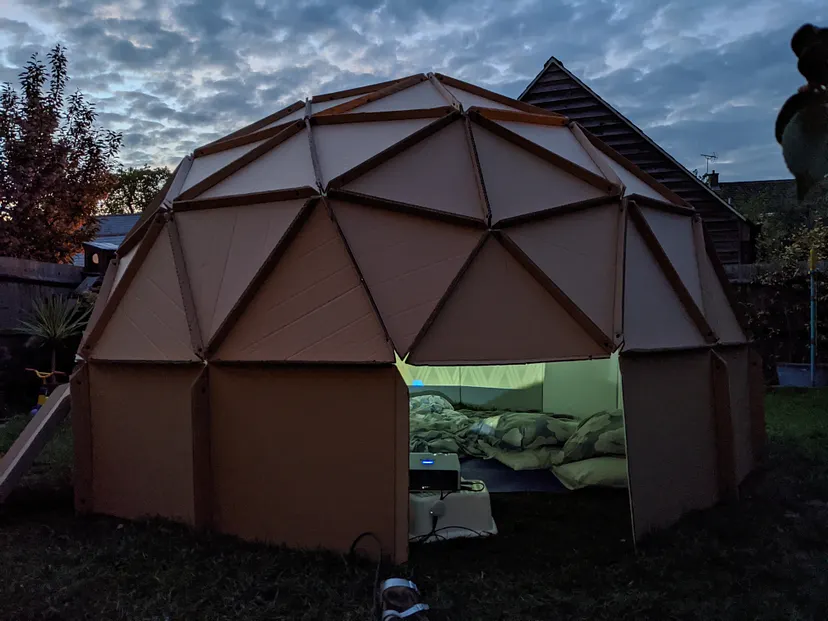
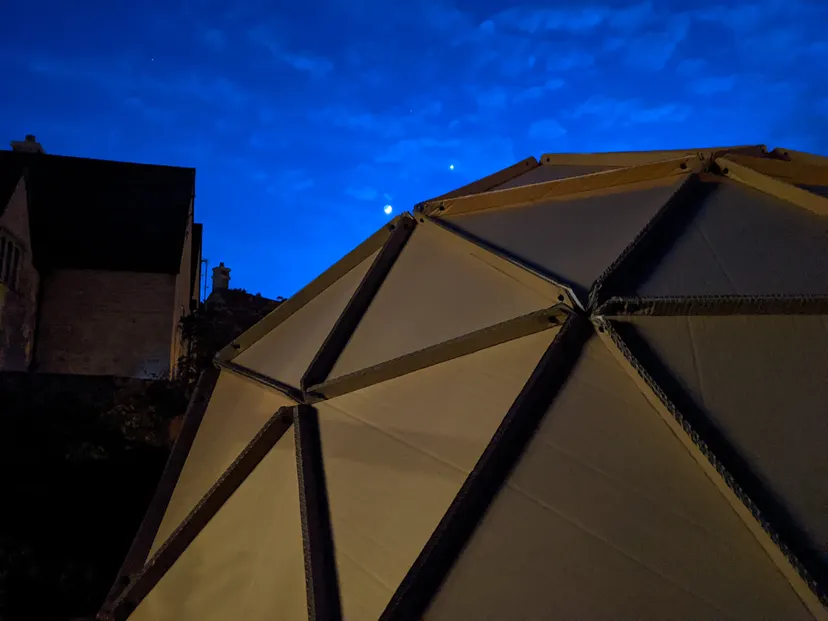
The cardboard was white on one side so it would be ideal as a projector screen.
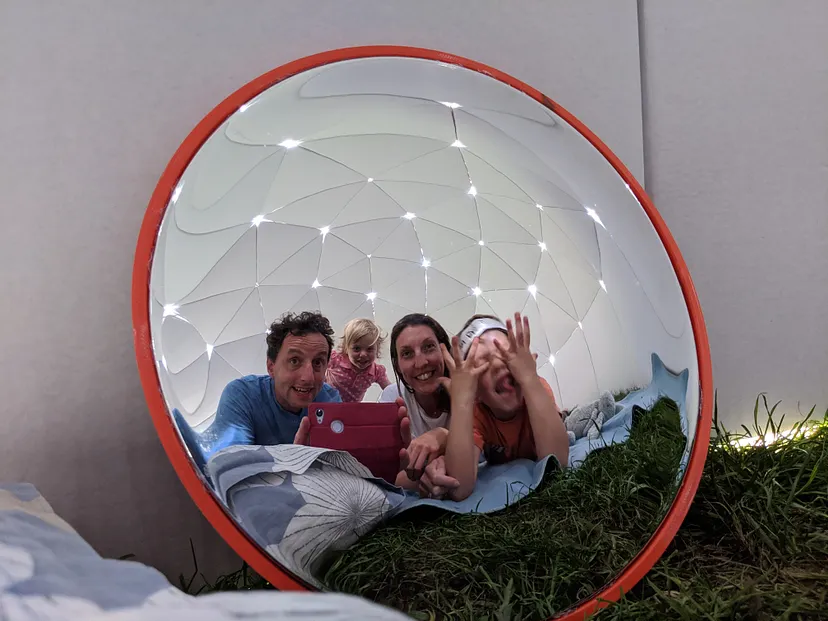
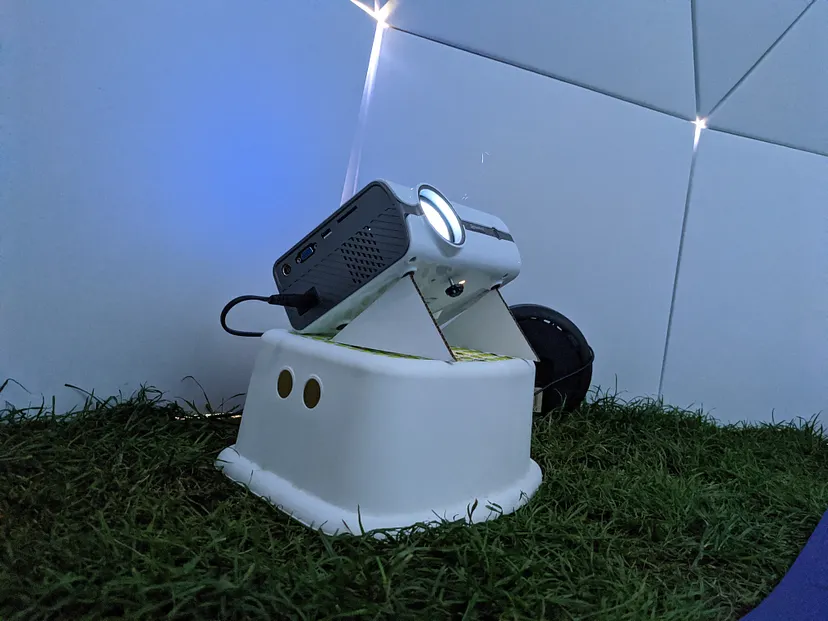
I already had a cheap projector, but I bought a convex mirror hoping that it might curve the projected image somewhat. In fact, despite appearing entirely reflective, it seemed to somehow absorb the light as if it were a black cloth. Clearly more research (and money) is needed.
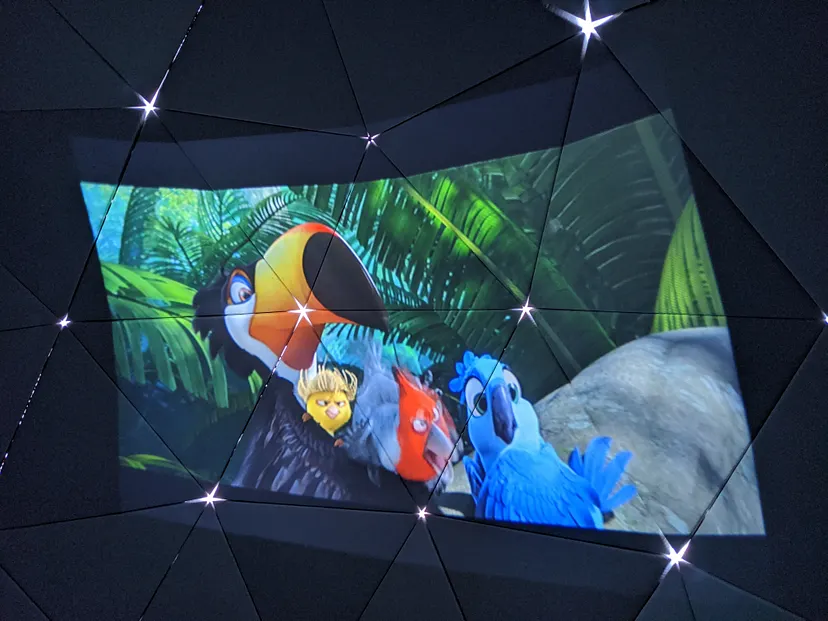
I discovered the ePlanatarium website which produces films specially formatted to suit curved surfaces. In the end though, Rio 2 was the film of choice to test out the set up, and, even as an unaltered projection, it worked well.
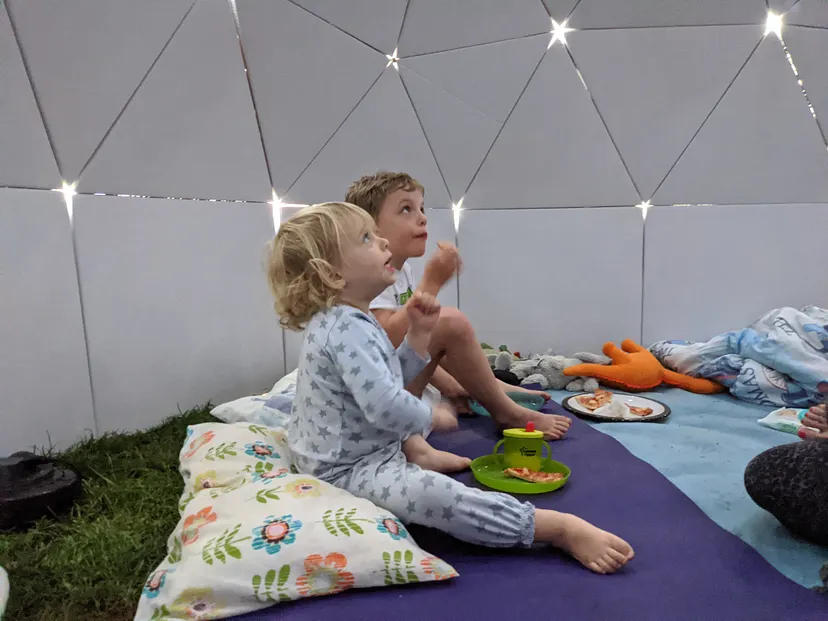
I managed to dismantle it in 10 panels and hope that it will be much quicker to put up in future.
Parts
- 100 sheets of A1 double walled cardboard, white on one side. This quantity allowed for 10 spares in case of mistakes or damage in the future.
- 300 12mm nylon bolts, M5 thread, and washers found on eBay.
- Cheap projector with plentiful fake Amazon reviews
I enjoyed working on the project and my kids loved seeing how all the shapes came together. Hopefully, with fair weather it can stay in the garden for longer and it will last for a good while.