Can You Really Subtract Something That Isn’t There?
Exploring negative numbers with a servo-powered zero pairs display

When teaching about negative numbers I usually start with a real-life context, like temperature, finance or trips to subterranean floors of a building. However, it is not long before these contexts become forced.
For underlying calculations such as -3 - (-6), at a stretch you could say that “It was super cold one night, but the next morning the sun took the cold away”. However, it is much simpler to explain that subtracting a negative is the same as adding a positive.
This type of explanation works well for learners who can remember rules by rote. However, many students need to ‘see’ why the rules work for them to stick. Or, as Jo Boaler puts it in her book “Mathematical Mindsets”:
“When students visualize mathematical concepts and understand the underlying structures, they are better able to remember and apply those concepts. Rote memorization without understanding often leads to shallow learning and poor retention.”— Jo Boaler, Mathematical Mindsets
A good way to start visualising how negative numbers work is by using a number line. However, it’s important to take a moment to consider what it means to subtract a negative. Students might misinterpret the rule that subtracting means moving left.

Is this an intuitive visualisation? I think you still need deeper abstract thought to ‘see’ why you need to move right when subtracting a negative.
This is where the concept of ‘zero pairs’ can provide clarity. Zero pairs are positive and negative numbers of the same amount that cancel each other out, resulting in zero. If you start with -3 and want to subtract -6, you can only remove three of the negative numbers. However, by adding 3 zero pairs (each consisting of +1 and -1), you create three additional negatives to remove. When you remove -6 (which now includes the original -3 and the -3 from the zero pairs), you are left with +3.

This might take a couple of viewings, but the benefit of using zero pairs is that it keeps you true to the operation’s action — you’re still subtracting, taking away, and removing negatives to arrive at the correct answer.
A Servo Powered Zero Pair Display
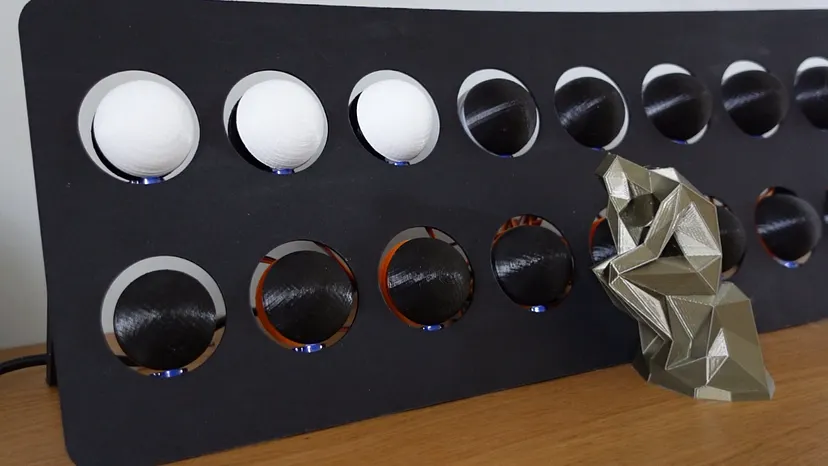
I created a mechanical display to serve as a teaching aid for illustrating how zero pairs work. This display can be used alongside counters and other manipulatives in class.
The project had three main goals:
- Use a Raspberry Pi with an Adafruit servo hat to control 16 servos via a web interface.
- Develop a Flask application hosted on the Pi, allowing the display to be controlled by any device on my home network.
- Create a display that effectively and quickly demonstrates the addition and subtraction of positive and negative numbers.
Preview
Here’s a preview of the display in action. The top row of 8 white hemispheres represents positive values, while the bottom row of 8 orange hemispheres represents negative numbers. On the right, you can see the user interface: you start by entering a number, then choose whether to add or subtract, and specify the amount.
Raspberry Pi and Adafruit Servo Hat
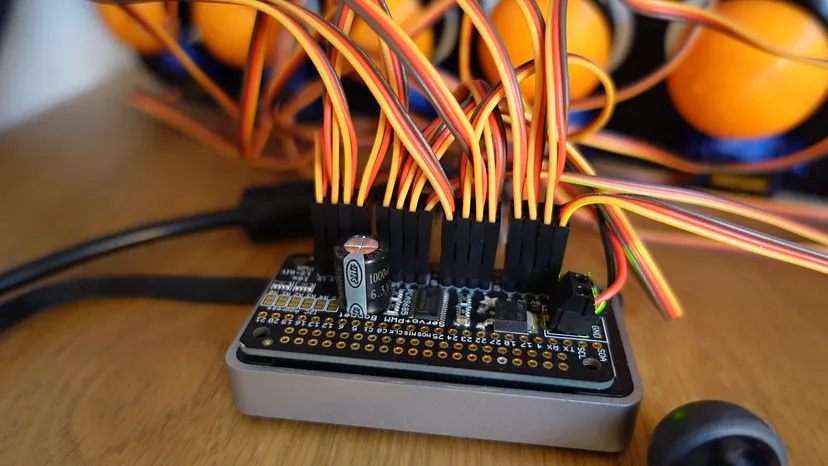
A Raspberry Pi Zero, paired with an Adafruit Servo Hat, controls the display. The Servo Hat enhances the Raspberry Pi’s capabilities by handling PWM (Pulse Width Modulation) signals, which are essential for precise control of the 16 servos. While the Pi has limited PWM outputs, the Servo Hat expands this, allowing smooth and accurate servo movements.
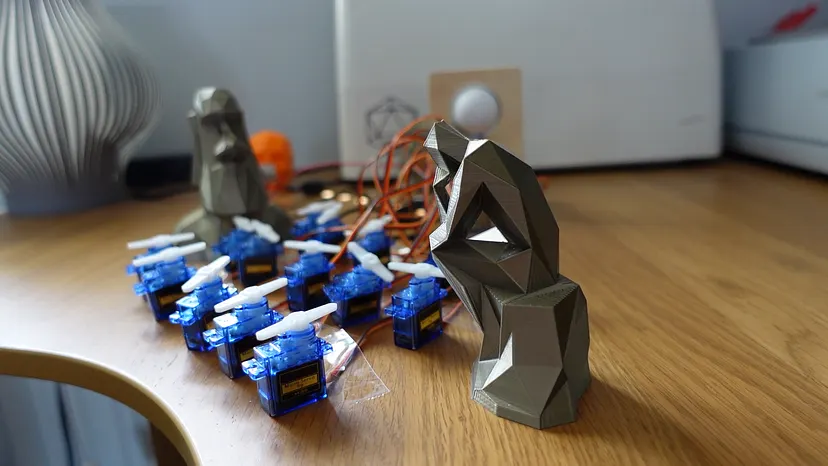
I used the ServoKit library, part of Adafruit’s CircuitPython ecosystem (available on Adafruit's guide), to easily control the servos with the Adafruit Servo Hat, allowing me to program and manage the hardware directly from the Raspberry Pi.
I found some inexpensive 9g servos on AliExpress, which was a bit of a gamble, but fortunately, all of them worked as expected. It did take some tweaking to determine the precise start and stop points to achieve a full 180 degrees of rotation. Here’s how I set up the servos using the Adafruit ServoKit library:
1from adafruit_servokit import ServoKit2
3kit = ServoKit(channels=16)4
5# Initialise Servos6for i in range(16):7    kit.servo[i].actuation_range = 1808    kit.servo[i].set_pulse_width_range(500, 2500)9    kit.servo[i].angle = 0
After a bit of experimentation, I had working code that would consistently rotate the servo back and forth between 0 and 180 degrees:
1import time2
3servo = kit.servo[0]  # Use the first servo4
5while True:6    servo.angle = 07    time.sleep(1)8    servo.angle = 1809    time.sleep(1)
As I experimented further, I adjusted the index number of the servo, ranging from kit.servo[0] to kit.servo[15], to achieve the desired effects.
Construction of the model
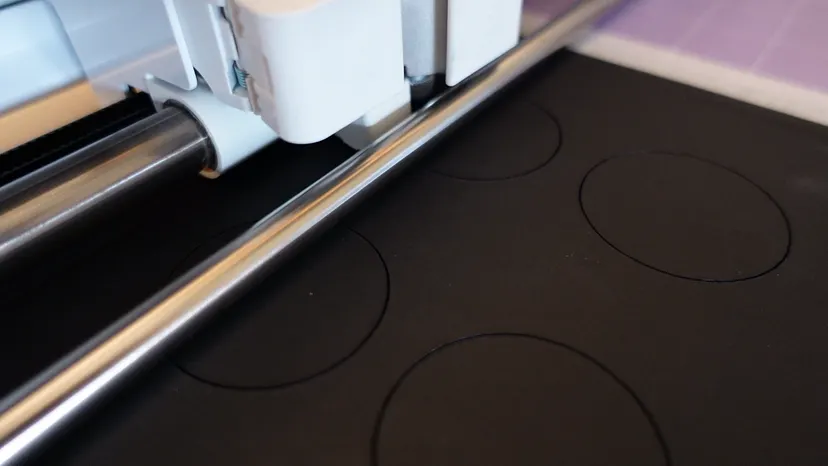
The display is crafted from mountboard, precisely cut with a Cricut machine into two rows of eight circles.
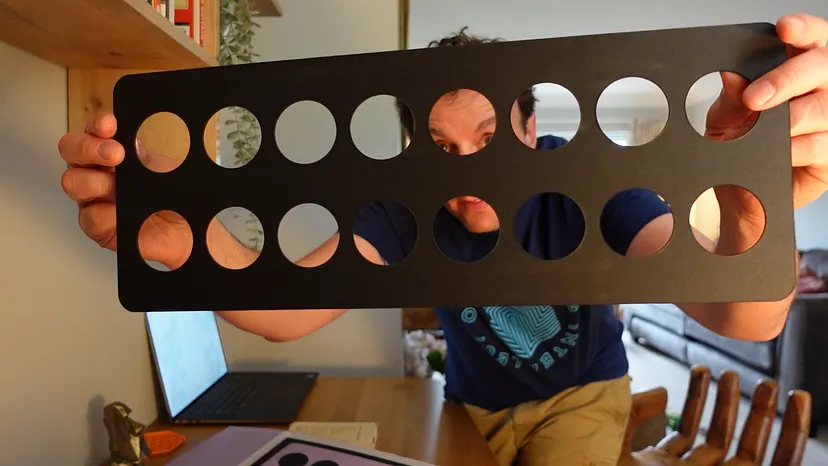
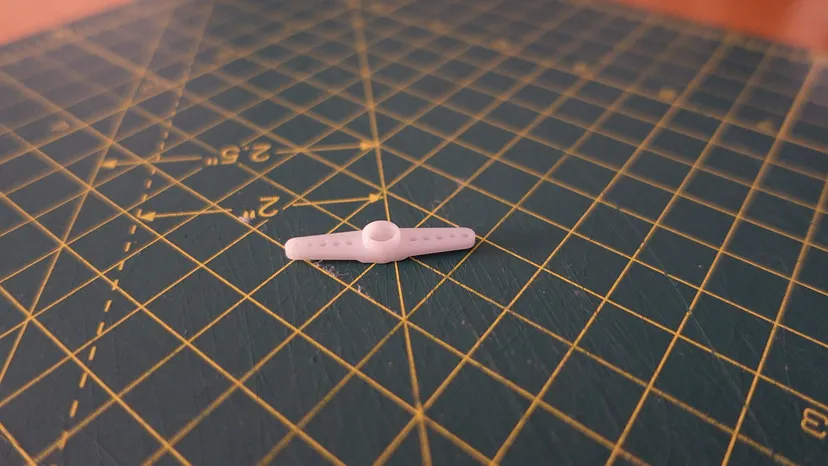
While there are more efficient methods, such as using painted circles or ping pong balls, I opted for 3D-printed spheres with colored hemispheres joined by thread. I used a sawn-off horn from the servos, cutting off the arms and leaving just the central pivot, which made it simple to attach the spheres.
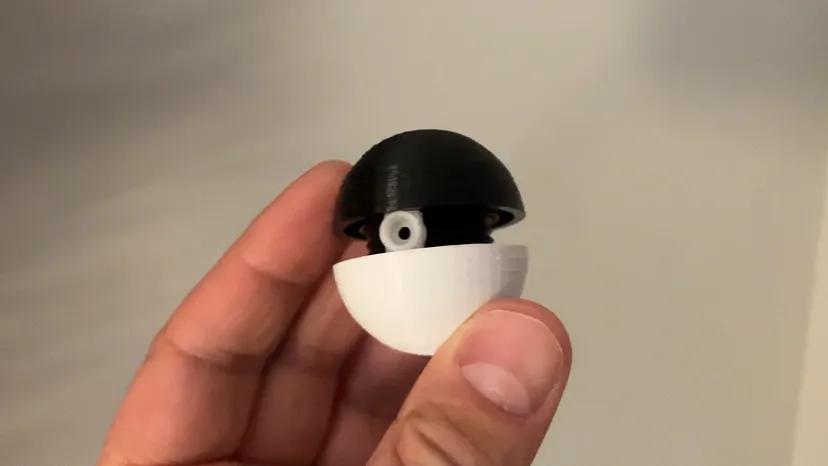
Next, I attached the servos to the mountboard with super glue and tested various patterns in place. Once the servos were set with their colourful spheres, the results were quite pleasing:
1def sweep(stop_flag):2 # Main loop3 while not stop_flag.is_set():4 for angle in (0, 180):5 for i in range(16):6 if not stop_flag.is_set():7 kit.servo[i].angle = angle8 time.sleep(0.1)9 print("Servos moved successfully to", angle, "degrees.")
Creating the Flask Web Application
Up to this point, I had been running scripts directly from the command line. To provide a user-friendly interface, I used Flask to host a simple HTML, CSS, and JS application accessible from any device on my network. I followed a similar approach to my Neopixel LED Flask project:
Different routes for different routines
All the code for this display is available in the GitHub repository . The basic idea is that different routes trigger various effects. When a user visits the IP address http://192.168.68.72:5000, they are presented with buttons that activate different patterns.
1@app.route('/')2def index():3 return render_template('index.html')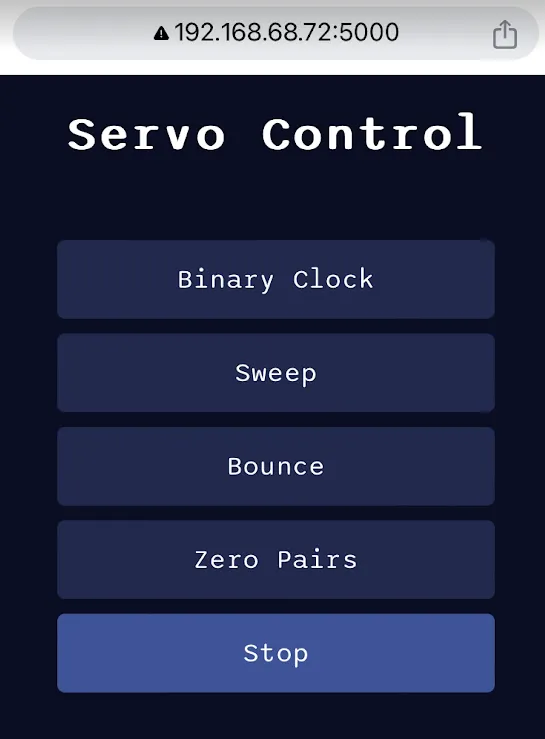
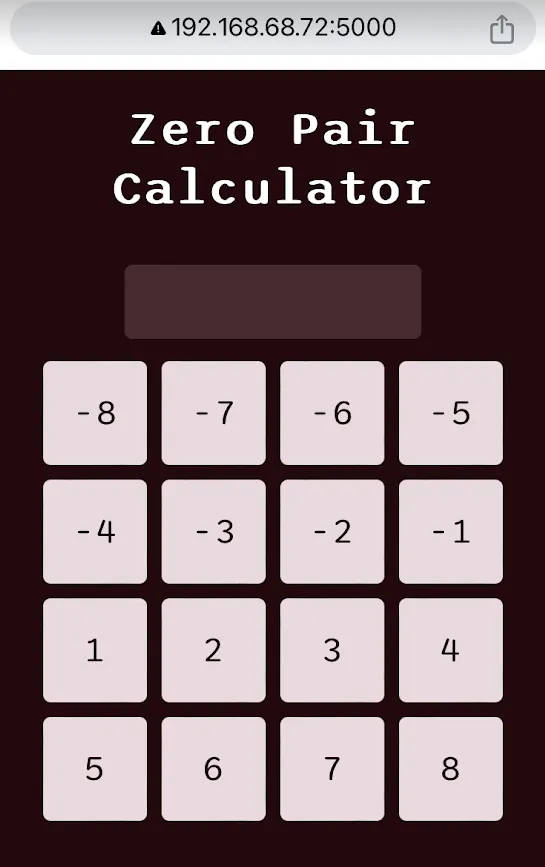
The ‘Zero Pairs’ button takes you to another route which then allows you to control input calculations to be displayed. The button press sequences are sent to the zero pair route, where the GET method processes them to determine what to display:
1@app.route('/zero-pair', methods=['GET'])2def zero_pair_route():3 # Rest of code making use of the numbers passed in.Creating an effective display
To fully understand how the application is programmed, it’s essential to review the code in the repository. However, the display is particularly effective in demonstrating the addition and subtraction of negative numbers. It clearly shows the different outcomes without relying on abstract rules about handling same or different signs. While some learners can quickly memorise such rules, and might find zero pairs unnecessary, this method offers another valuable tool — much like using a mental number line — for those who benefit from a more visual or hands-on approach.
Currently, I use this setup on my home network, but the next step is to have the device broadcast its own Wi-Fi network. This will allow it to be used as a teaching aid in the classroom, accessible from any teacher or student device.
Zero-Pairs-Servo-Project
Explore the full Python, CircuitPython, and Flask codebase on GitHub