Manage Neopixel LEDs With A Flask Web Control Panel Running On A Raspberry Pi
My Flask ‘Hello World’ Project Sings a Rainbow
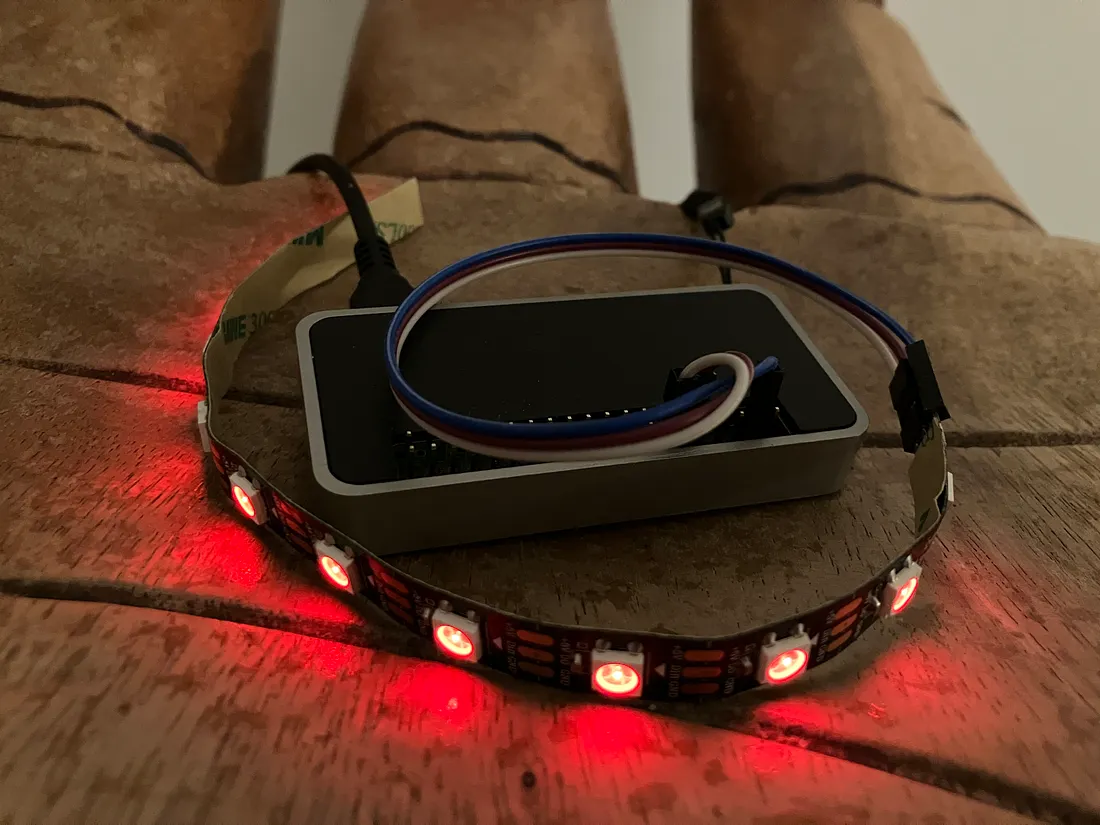
Having worked on numerous Neopixel LED projects with different micro controllers and with Raspberry Pi, I have acquired a better understanding of web control panels. As a result, I have prepared a beginner’s guide to creating a basic Flask web controller.
You can find the complete repository for my “Hello World” project here on GitHub, but throughout the rest of this article I’ll use images from ray.so to explain my code.
Configuring the Raspberry Pi
First, make sure you have Python 3 installed on your Raspberry Pi. You can check if it’s already installed by typing python3 in the terminal. If it’s not installed, you can install it by running the following command in the terminal:
1sudo apt-get install python3Flask
Next, install Flask by running the following command in the terminal:
1sudo pip3 install flaskYour Flask web application is like a new supermarket that you want to open. Just like any supermarket, you need to make sure it’s properly set up before you open for business. You’ve stocked up the shelves with all the products you want to sell (written the code for your app), but you need to make sure the doors are open so that customers can come in and shop.

The doors to your supermarket are like the Flask server that needs to be started. The app.run() function acts as the key to unlock the doors and start the server, allowing customers to access your supermarket (or in this case, your web application) from their devices.
The host and port parameters in the app.run() function are like the store’s address and opening hours, which you need to specify so that customers know where and when to find your supermarket.
Now, create a new file called app.py using your favourite text editor.
In app.py, import the Flask module and create a new Flask application:
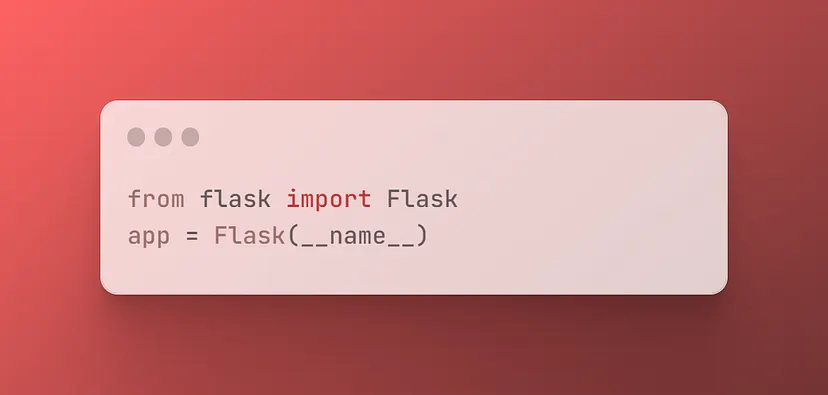
1from flask import Flask2app = Flask(__name__)Define a new route for your application by adding the following code:
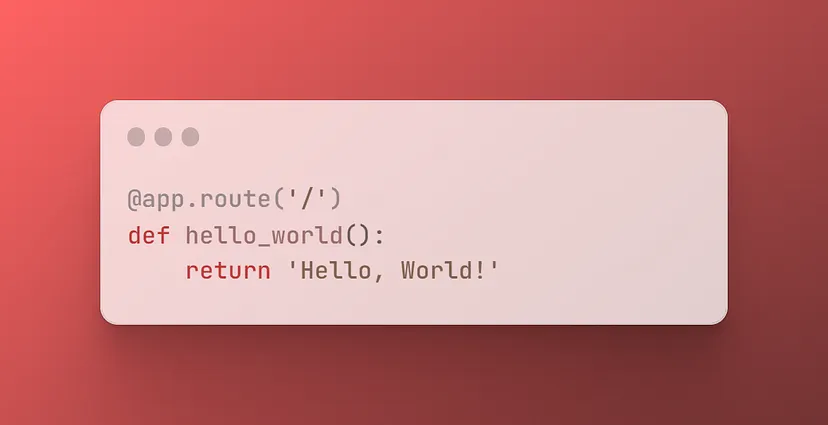
1@app.route('/')2def hello_world():3 return 'Hello, World!'This tells Flask to call the hello_world() function when someone visits the root URL of your application.
Finally, start the Flask development server by calling it at the end of app.py:
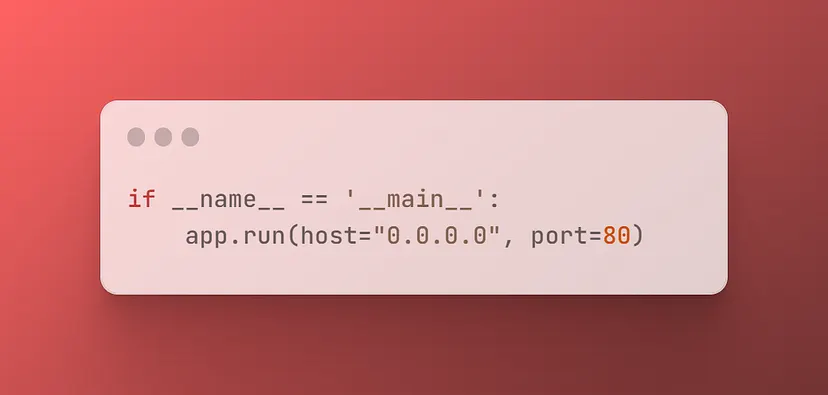
1if __name__ == '__main__':2 app.run(host='0.0.0.0', port=80)This code block is commonly used in Python scripts to ensure that the script is being run directly, rather than being imported as a module into another script.
Here’s how it works:
- The script sets the special variable
__name__to a value of__main__if the script is being run directly. - When the script is being run as an imported module,
__name__is set to the name of the module, and theifblock is not executed. - When
__name__is equal to__main__, theifblock is executed, which runs the Flask application using theapp.run()method. - In this specific case,
app.run()is set to listen on all available network interfaces (0.0.0.0) on port80, which is the default port for HTTP traffic.
From another device on your Wi-Fi network, visit the IP address of the Pi to be greeted with your “Hello World” Message.
Running on boot
In order to have the Flask application running automatically when the Raspberry Pi Zero W boots up, you need to add a line to a system file:
1sudo nano /etc/rc.localJust before the exit 0 command at the bottom, add the path to your app.py script followed by an ampersand (&), which puts the command into the background, allowing the script to continue executing without waiting for the command to finish:
1#!/bin/sh -e2#3# rc.local4#5# This script is executed at the end of each multiuser runlevel.6# Make sure that the script will "exit 0" on success or any other7# value on error.8#9# In order to enable or disable this script just change the execution10# bits.11#12# By default this script does nothing.13
14# Print the IP address15_IP=$(hostname -I) || true16if [ "$_IP" ]; then17  printf "My IP address is %s\n" "$_IP"18fi19
20/usr/bin/python3 /home/russell/app.py &21
22exit 0
You now have the basis of a working Flask application that will run on boot. We now want to be able to visit different paths such as 192.168.1.154/red and trigger LEDs to fire.
Combining Flask with Adafruit’s NeoPixel Library
Adafruit has good and comprehensive guides walking you through the steps to get NeoPixels (WS2812 RGB LEDs) working with CircuitPython on the Pi. The essence of those steps are as follows:
- Install the CircuitPython bundle from the command line:Terminal1pip3 install --upgrade adafruit-circuitpython-bundle
- Paste the Blinka installer snippet into the command line on your Pi:
“We put together a script to easily make sure your Pi is correctly configured and install Blinka. It requires just a few commands to run. Most of it is installing the dependencies.” (Adafruit Guide)
Terminal1cd ~2sudo pip3 install --upgrade adafruit-python-shell3wget https://raw.githubusercontent.com/adafruit/Raspberry-Pi-Installer-Scripts/master/raspi-blinka.py4sudo python3 raspi-blinka.py - Install the NeoPixel libraries:
This took a fair while to load, but then once complete it was simply a case of using pip to install the NeoPixel libraries:
Terminal1sudo pip3 install adafruit-circuitpython-neopixel
Building up the Flask Web Control Panel
With the bare bones of the Flask application up and running, and the CircuitPython and NeoPixel libraries installed on the Pi, it is now a case of developing the routes.
Eventually, my control panel looked like the one below, with a choice of solid colours, an animated rainbow effect and adjustable Red, Green and Blue Sliders.

A simple route
In the simplest form, a red light could be triggered with the following route defined (visiting 192.168.1.154/red would turn the LED strip red):
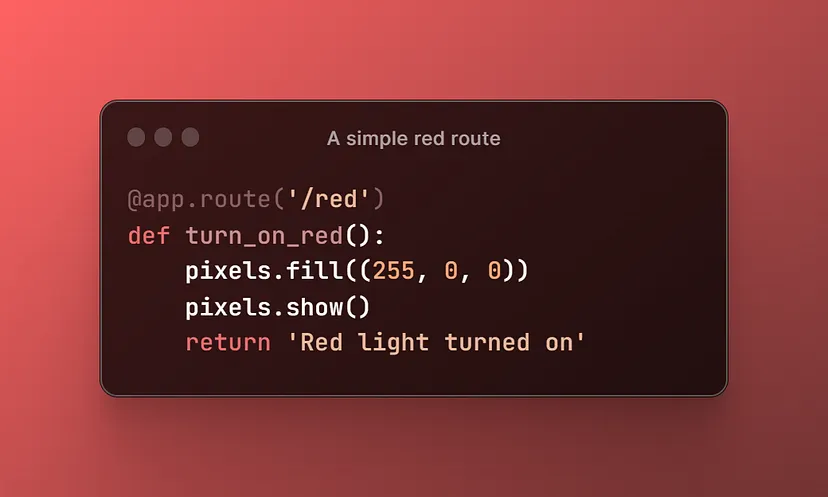
1@app.route('/red')2def turn_on_red():3 pixels.fill((255, 0, 0))4 pixels.show()5 return 'Red light turned on'Need to juggle tasks? Thread carefully!
In terms of the Flask application, the routes could have remained this simple if it were not for a rainbow animation and sliders. Unlike a simple colour change, calling the rainbow_cycle() function triggers an infinite loop.

Adafruit’s template code for a NeoPixel rainbow:
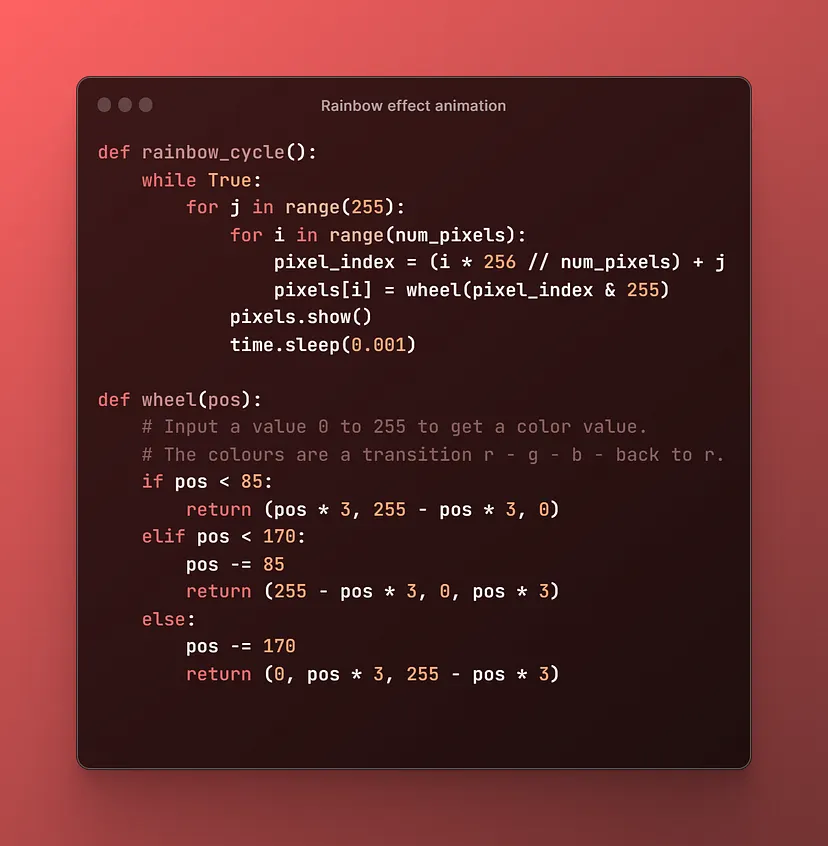
1def rainbow_cycle():2    while True:3        for j in range(255):4            for i in range(num_pixels):5                pixel_index = (i * 256 // num_pixels) + j6                pixels[i] = wheel(pixel_index & 255)7            pixels.show()8            time.sleep(0.001)9
10def wheel(pos):11    # Input a value 0 to 255 to get a color value.12    # The colours are a transition r - g - b - back to r.13    if pos < 85:14        return (pos * 3, 255 - pos * 3, 0)15    elif pos < 170:16        pos -= 8517        return (255 - pos * 3, 0, pos * 3)18    else:19        pos -= 17020        return (0, pos * 3, 255 - pos * 3)
If you have such functions running indefinitely it is useful to have them running in their own thread, which can then be stopped from other routes. In my case, the rainbow_cycle() function was put in its own thread:
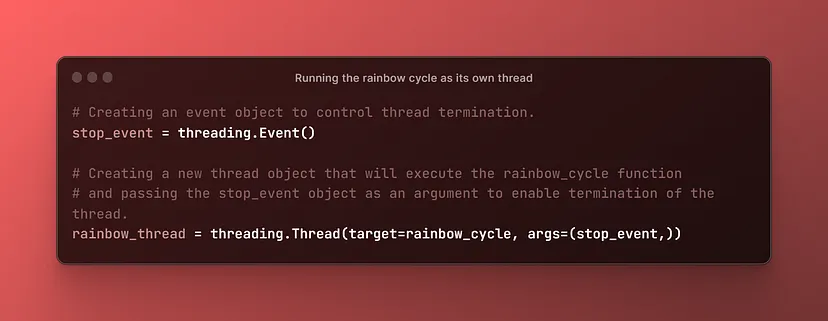
1# Creating an event object to control thread termination.2stop_event = threading.Event()3
4# Creating a new thread object that will execute the rainbow_cycle function5# and passing the stop_event object as an argument to enable termination of the thread.6rainbow_thread = threading.Thread(target=rainbow_cycle, args=(stop_event,))
Later in the code is a Flask route definition for the web application. When the ‘/rainbow’ URL is requested, the turn_on_rainbow() function is executed:
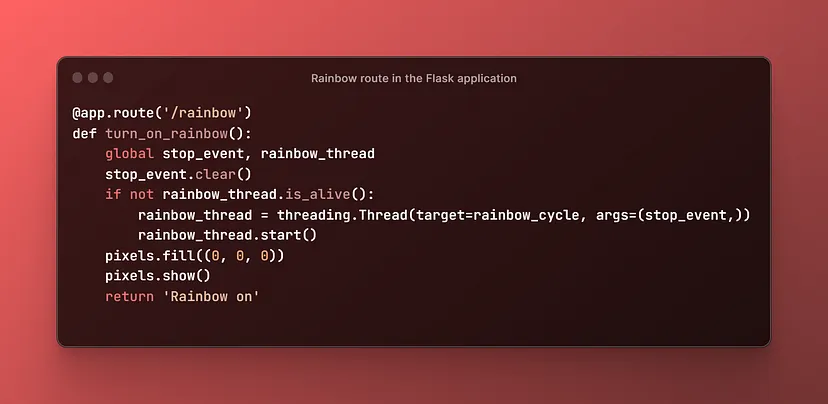
1@app.route('/rainbow')2def turn_on_rainbow():3 global stop_event, rainbow_thread4 stop_event.clear()5 if not rainbow_thread.is_alive():6 rainbow_thread = threading.Thread(target=rainbow_cycle, args=(stop_event,))7 rainbow_thread.start()8 pixels.fill((0, 0, 0))9 pixels.show()10 return 'Rainbow on'This code uses threading to run the rainbow_cycle() function in the background while the web application remains responsive to other requests:
- First, the function calls
stop_event.clear()to reset a threading Event object namedstop_event. This Event object is used to signal the background thread to stop running when a stop signal is sent. - Next, the function checks if the
rainbow_threadis not already running usingrainbow_thread.is_alive(). If it is not, a new thread is created withthreading.Thread(target=rainbow_cycle, args=(stop_event,)). This creates a new thread that will execute therainbow_cycle()function and pass in thestop_eventas an argument. - Once the new thread is created, it is started with
rainbow_thread.start(). Therainbow_cycle()function will now run in the background while the main thread continues to execute. - After starting the new thread, the function clears the pixel values and returns a message
‘Rainbow on’to indicate that the rainbow animation has been started.
Now when switching back to a static colour, the revised red route checks whether the rainbow animation is currently running, signals the thread to stop, waits for it to join, and then illuminates the red pixels:
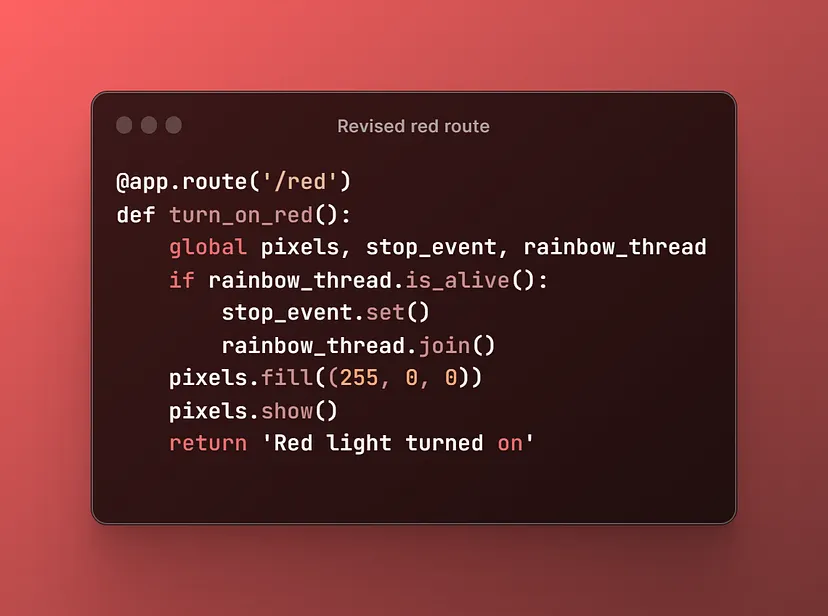
1@app.route('/red')2def turn_on_red():3 global pixels, stop_event, rainbow_thread4 if rainbow_thread.is_alive():5 stop_event.set()6 rainbow_thread.join()7 pixels.fill((255, 0, 0))8 pixels.show()9 return 'Red light turned on'This code defines a Flask route that triggers the LED strip to glow red, and if a rainbow cycle animation is currently running, stops the animation before turning on the lights.
Sipping on the Flask of Web Design: Crafting with HTML, CSS, and JavaScript
Visiting the above routes alters the light and displays a simple message in the browser. To enhance control, HTML is necessary.
In my case, I aimed to create a single page application where all routes are accessible on the same page, irrespective of the path entered in the browser. This can be achieved with the code below:
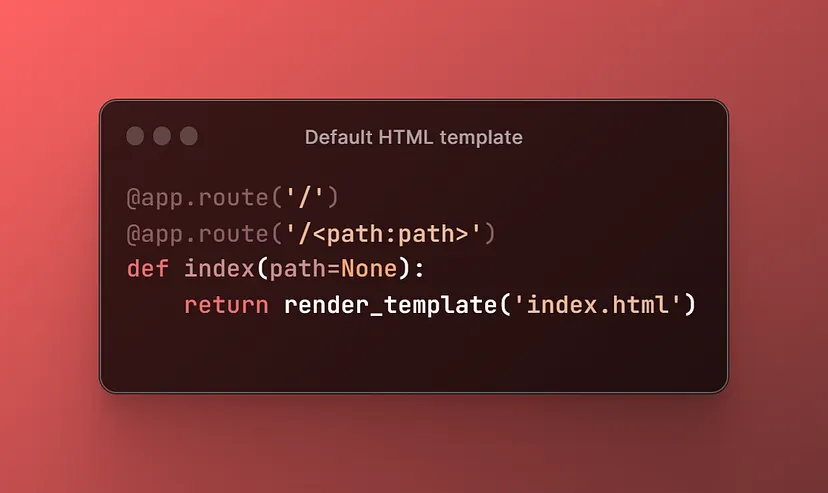
1@app.route('/')2@app.route('/<path:path>')3def index(path=None):4 return render_template('index.html')This code is like a bouncer for your website. It’s got two doors, but no matter which one your visitors use to get in, they’ll always end up at the same party — your awesome index.html template.
Folder structure
Initially I created a great big HTML file complete with inline CSS and JS within <script> tags. However, for maintainability it is necessary to separate the structure, style and interactivity into corresponding files.
In my case, app.py is at the root of my web application and the style.css and script.js are stored in a sub folder called ‘static’.
neopixel-flask-rpi/
├── app.py
├── templates/
│   └── index.html
└── static/
    ├── style.css
    └── script.js
Within the Head of the HTML file the <link> tag loads an external stylesheet called “style.css” using Flask’s url_for method, which dynamically generates the correct URL for the file:
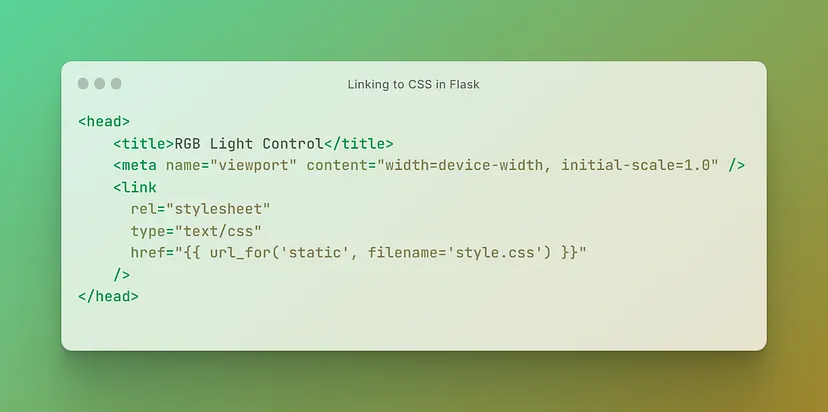
1<head>2 <title>RGB Light Control</title>3 <meta name="viewport" content="width=device-width, initial-scale=1.0" />4 <link5 rel="stylesheet"6 type="text/css"7 href="{{ url_for('static', filename='style.css') }}"8 />9</head>The JavaScript file is linked in a similar way just prior to the closing </body> tag:
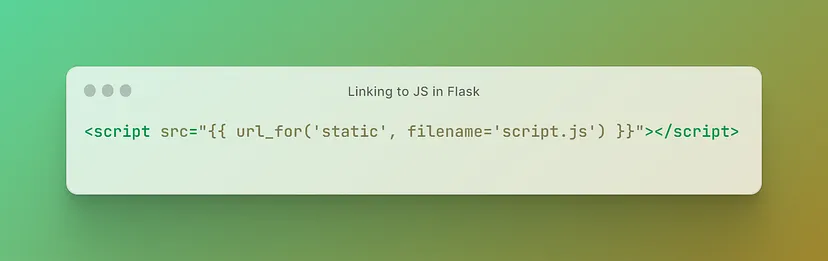
1<script src="{{ url_for('static', filename='script.js') }}"></script>The JavaScript is fairly simple, mainly just triggering the colour of the NeoPixel strip to change:
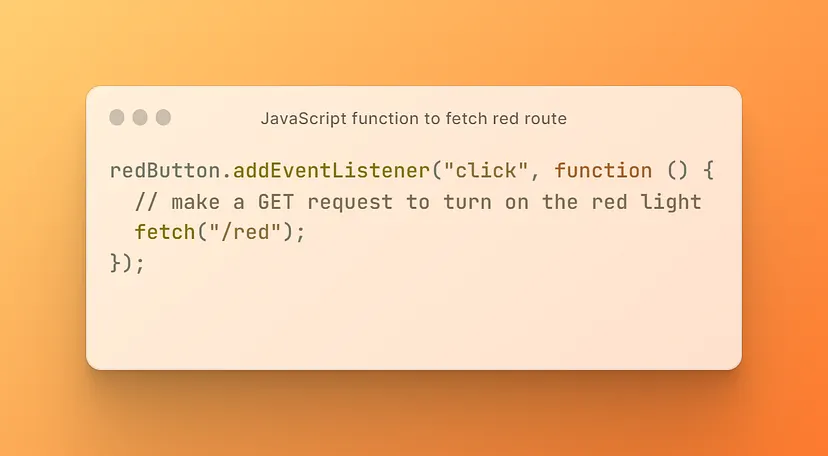
1redButton.addEventListener("click", function () {2 // make a GET request to turn on the red light3 fetch("/red");4});As well as having a range of colourful buttons and a rainbow animation, I also included sliders which are used to adjust the red, green and blue values of the LED strip individually.
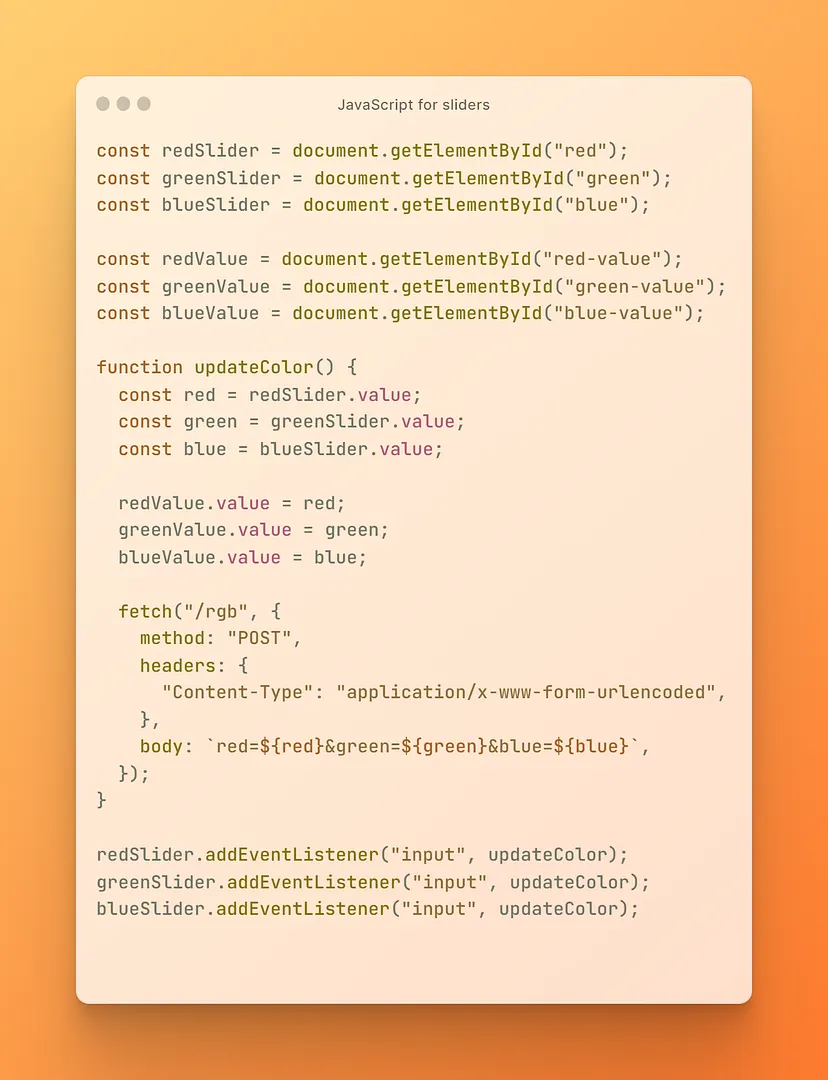
1const redSlider = document.getElementById("red");2const greenSlider = document.getElementById("green");3const blueSlider = document.getElementById("blue");4
5const redValue = document.getElementById("red-value");6const greenValue = document.getElementById("green-value");7const blueValue = document.getElementById("blue-value");8
9function updateColor() {10  const red = redSlider.value;11  const green = greenSlider.value;12  const blue = blueSlider.value;13
14  redValue.value = red;15  greenValue.value = green;16  blueValue.value = blue;17
18  fetch("/rgb", {19    method: "POST",20    headers: {21      "Content-Type": "application/x-www-form-urlencoded",22    },23    body: `red=${red}&green=${green}&blue=${blue}`,24  });25}26
27redSlider.addEventListener("input", updateColor);28greenSlider.addEventListener("input", updateColor);29blueSlider.addEventListener("input", updateColor);
This code defines a JavaScript function called updateColor() and sets up event listeners for three sliders with IDs “red”, “green”, and “blue”.
- The
constkeyword is used to declare variables with block scope that cannot be reassigned to a new value. In this code,redSlider,greenSlider, andblueSliderare declared and assigned the DOM elements with corresponding IDs usingdocument.getElementById(). Similarly,redValue,greenValue, andblueValueare assigned the corresponding DOM elements. - The
updateColor()function is called each time any of the sliders are moved. Inside the function, the values of the red, green, and blue sliders are retrieved using thevalueproperty of each slider element. - The function then updates the values displayed next to the sliders using the
valueproperty of the correspondingredValue,greenValue, andblueValueelements. - Finally, the function sends a
POSTrequest to a server endpoint called“/rgb”using thefetch()function. The POST request sends data in the form of a URL-encoded string that contains the values of red, green, and blue sliders. - The last three lines of code set up event listeners for the sliders, which call the
updateColor()function each time the slider values are changed by the user.
A template for the future
I hope this Flask and Neopixel “Hello World” will help you develop your own projects.
neopixel-flask-rpi-led-controller
Full source code and templates available on GitHub