It’s not Christmas until your tree is topped with a glowing Rhombicosidodecahedron
I’ve slowly become obsessed with Snapology and now see origami spheres as the unnecessary solution to already solved problems.
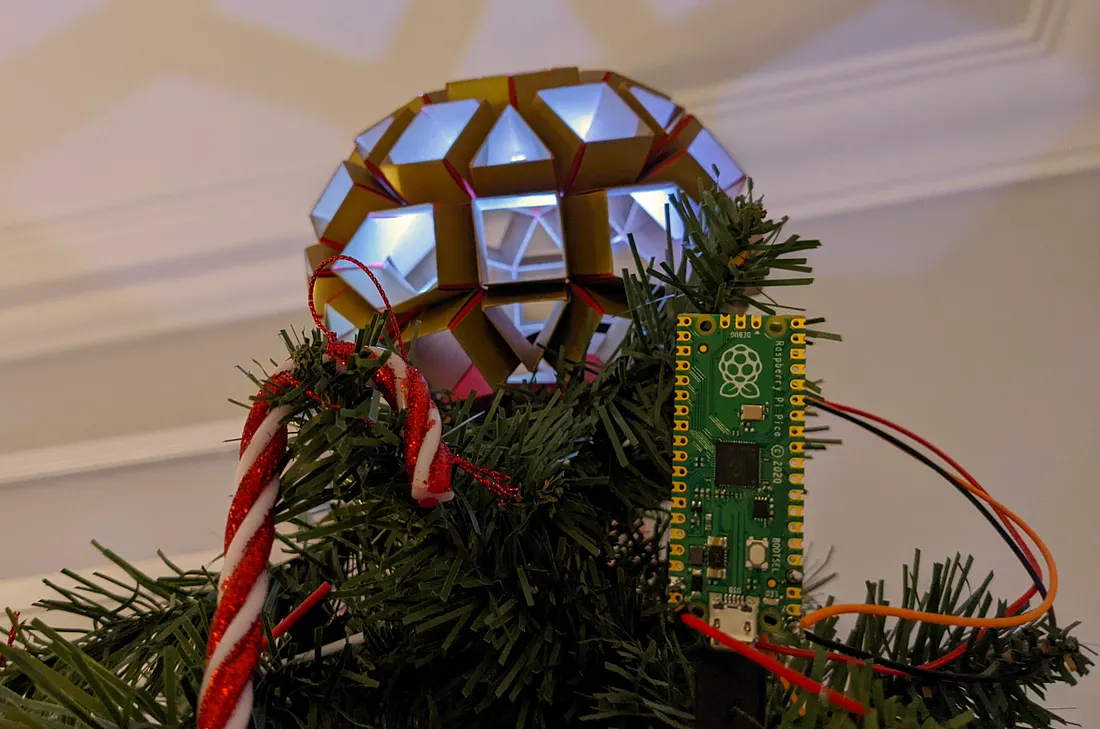
I have seen how pleasing the throw of light can be from light sources placed inside Snapology origami, so when thoughts turned to Christmas decorations the idea of a Snapology tree topper seemed to almost float up from my subconscious.
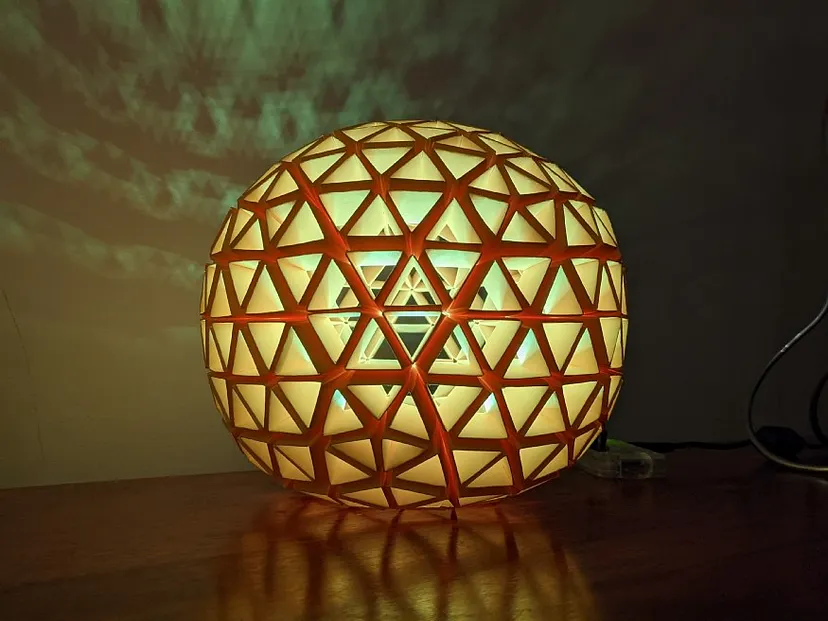
I thought I’d keep my tree topper simple and use far fewer pieces than I had with my previous models. There is a whole world of complex polyhedral shapes with names almost too silly to be real, but I settled on a rhombicosidodecahedron (named not by Lewis Carroll but Johannes Kepler). They have 30 square, 20 triangular and 12 pentagonal faces.


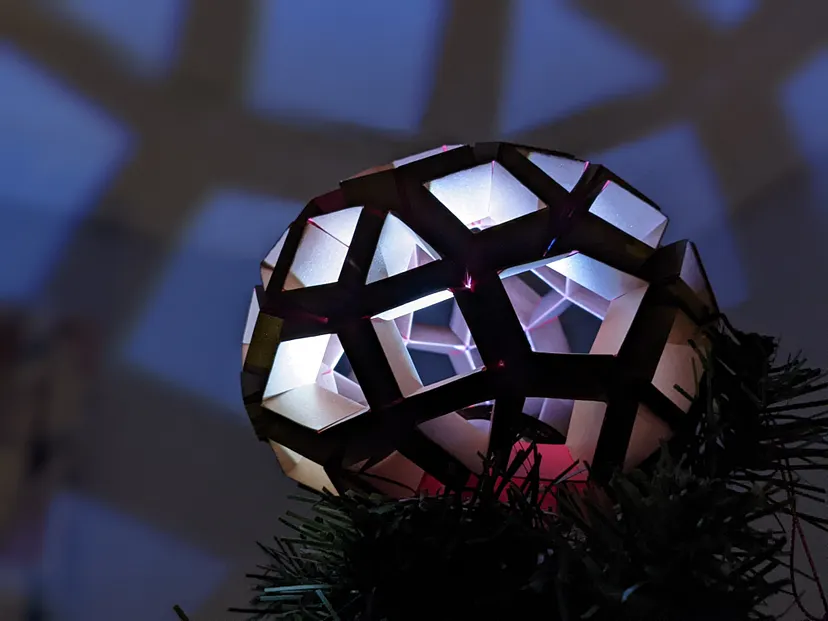
Raspberry Pi Pico Power
With my previous models I used Raspberry Pi Zeros to control NeoPixel LED rings, essentially turning lamps into small Internet connected computers which can be controlled from another device. For my tree topper I wanted to keep it as simple as possible and was not interested in any fancy controls, and so I used a Raspberry Pi Pico to connect to a short string of LEDs.

I followed Adafruit’s getting started guide to install the relevant CircuitPython and NeoPixel libraries on the Pico, and found the process pleasantly straight-forward. After a little play with code examples, I created a simple sequence of LED animations. I loved the plug and play nature of this coding — no SSH or web servers, just dragging and dropping. As long as the file was called code.py it was as simple as transferring a file to a memory stick. I hid a power bank in the tree, connected via USB and, after a beat, it fired up. I think the result is quite classy.
The code below is my adaptation of the example provided in Adafruit’s guide . It subtly rotates through red, green and yellow with a gentle fade in between:
1import time2import board3import digitalio4from rainbowio import colorwheel5import neopixel6from adafruit_led_animation.color import RED, GREEN, YELLOW7from adafruit_led_animation.animation.pulse import Pulse8from adafruit_led_animation.sequence import AnimationSequence9
10# Update this to match the number of NeoPixel LEDs connected to your board.11num_pixels = 512pixels = neopixel.NeoPixel(board.GP0, num_pixels, auto_write=False)13pixels.brightness = 114pixels.fill((0, 0, 0))15pixels.show()16
17pulse = Pulse(pixels, speed=0.1, color=RED, period=15)18puls = Pulse(pixels, speed=0.1, color=GREEN, period=15)19pul = Pulse(pixels, speed=0.1, color=YELLOW, period=15)20
21animations = AnimationSequence(22    pulse, puls, pul, advance_interval=15, auto_clear=True23)24
25while True:26    animations.animate()
I could of course have stopped there
A nice, subtle, classy light on top of our tree — I probably should have left it at that, however I was so taken by how easy the Pico was to set up that I grabbed a 5 metre rope of LEDs which I had reserved for another project and threw them into the tree too! Initially, I connected these with another Pico and coded further animations, but then I began to experiment with the FireBeetle ESP32-E sold by The Pi Hut.
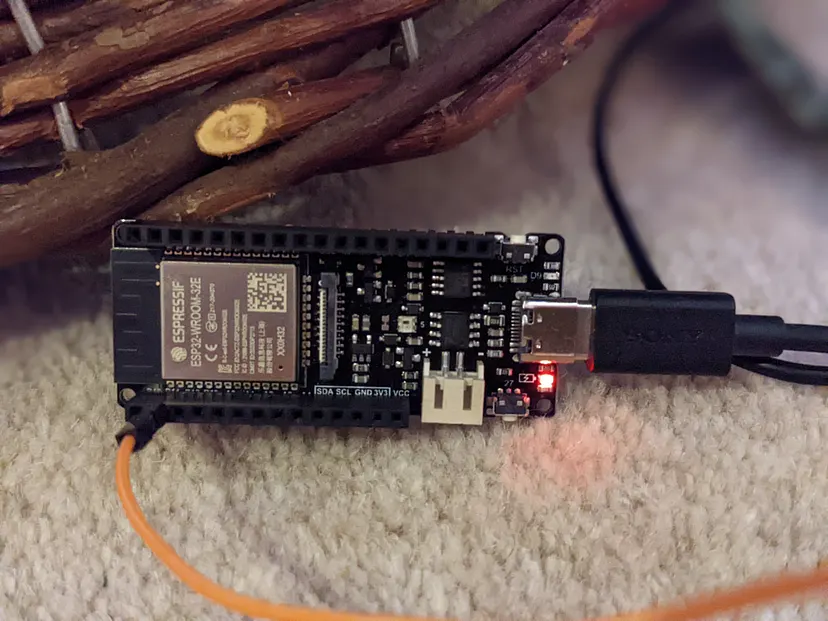
I’ve avoided ready-made LED solutions in the past as for me programming LEDs is an opportunity to hone my Python and other skills. However, I’d seen others demonstrate ESP32 devices combined with the WLED package and was curious to experiment.
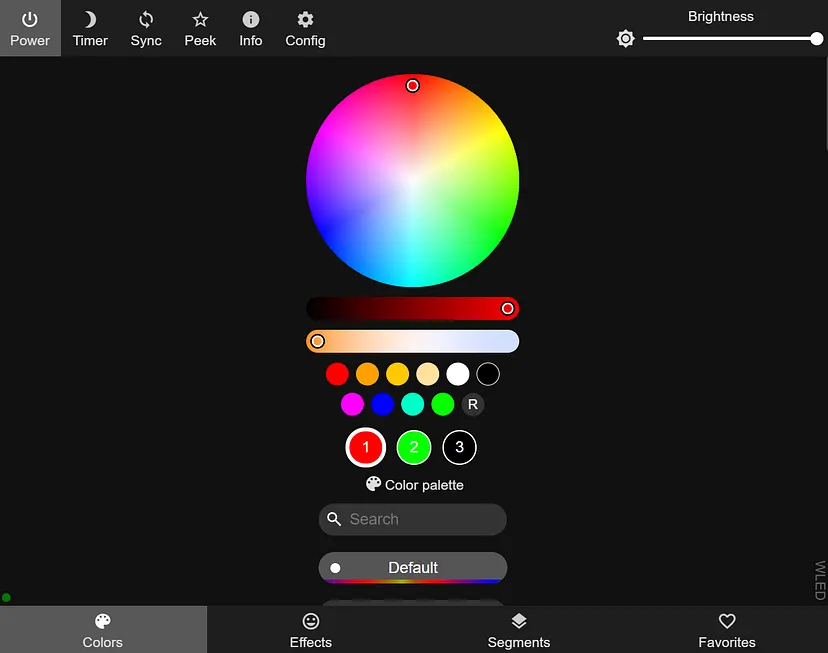
While this feels a little like cheating, I can’t complain about the ease of use and the variety of striking colour patterns to play with. Not subtle, not particularly classy, but surely entertaining!
