My Colour Changing Icosahedron Quilt is my Coding Playground
A learning project and Python playground experimenting with light diffusion, 180 RGB LEDs, and music synchronisation
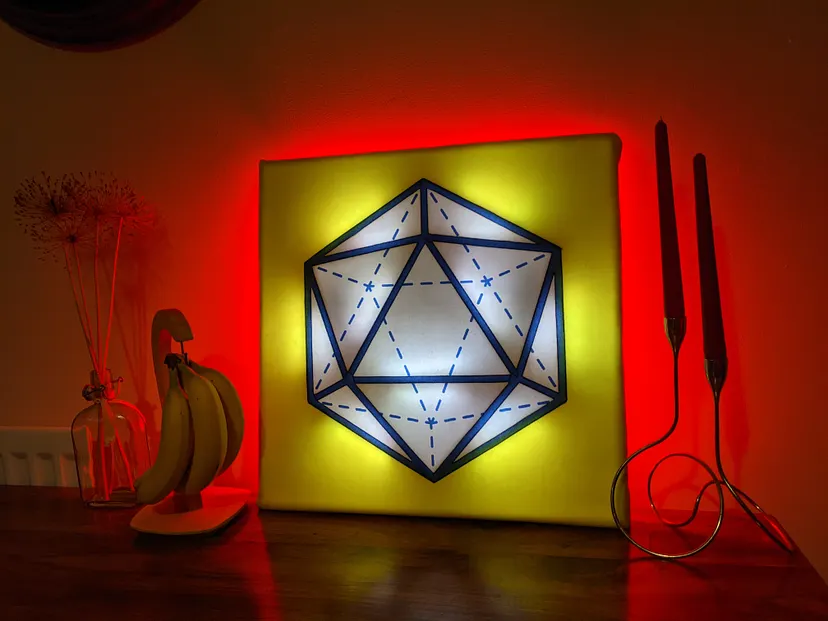
This quilted icosahedron is packed with 180 RGB LEDs and a pair of speakers, all controlled by a Raspberry Pi. I made it as a learning project and Python playground and as an experiment in light diffusion.
A learning project
After using Adafruit’s NeoPixel rings to create sun and moon wake-up lamps, my mind turned to the possibility of larger scale projects.
I like the idea of hiding light sources in places you wouldn’t expect, especially behind fabrics. I would love to make a stealthy light up fraction wall, or 100 square, which could hang unassuming in my classroom ready to sparkle into life as a teaching aid. This icosahedron project gave me a chance to answer some questions and clear some learning barriers before taking on more complex projects: would I be able to solder, power and program nearly 200 pixels? Is a quilt and cardboard combination a good way to partition LED groups and diffuse light sufficiently?
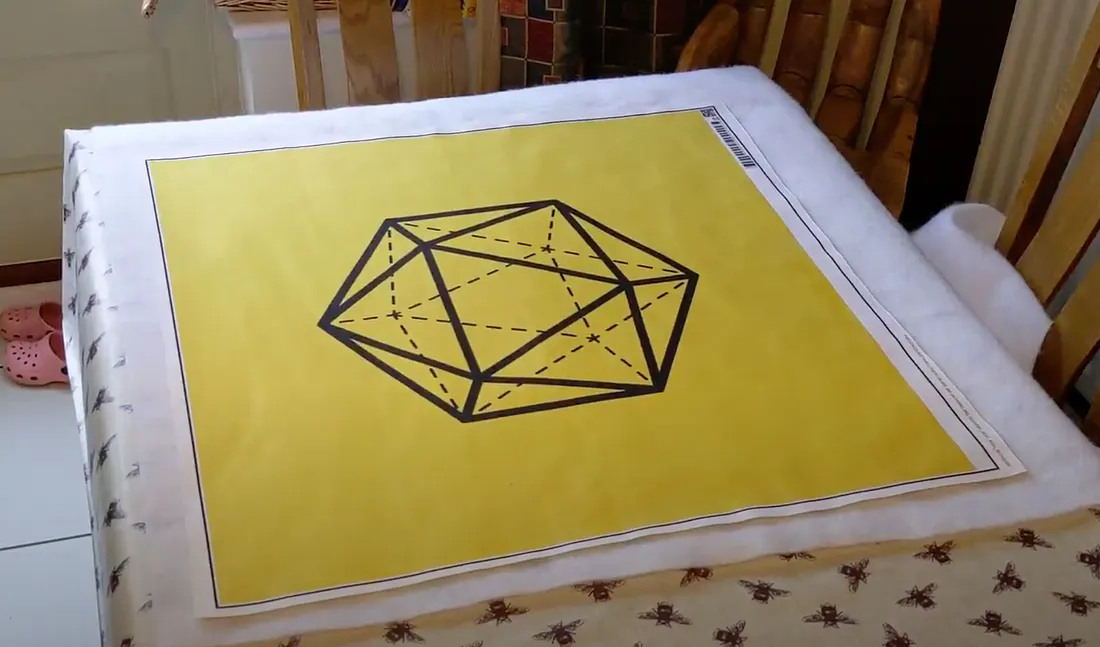
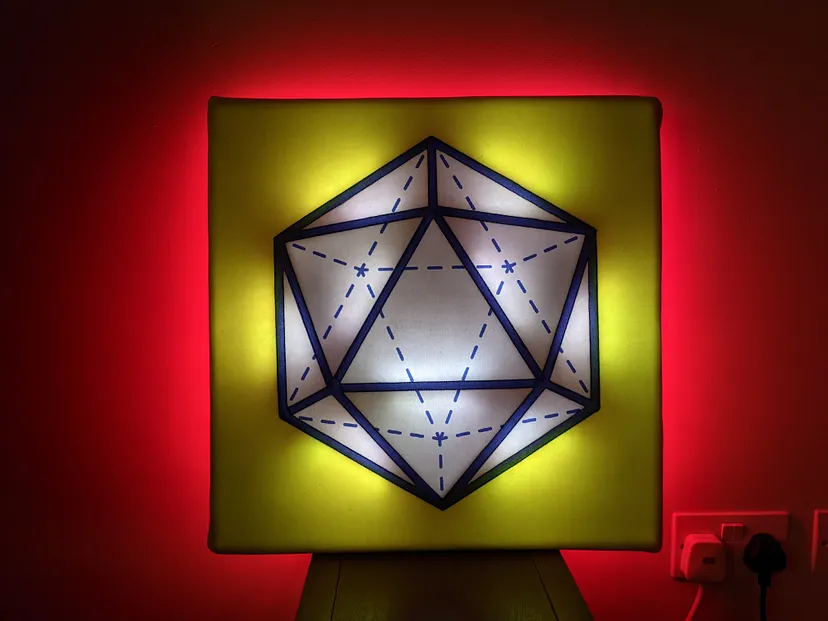
I had the icosahedron logo printed on a heavy Jersey fabric, and hoped the thick lines in the design would help prevent light from bleeding between sections. Hey, another time I’ll proper piece a quilt together, but as this was all an experiment I was happy to cheat with a printed picture and just quilt tramlines along each line to help further divide each section.
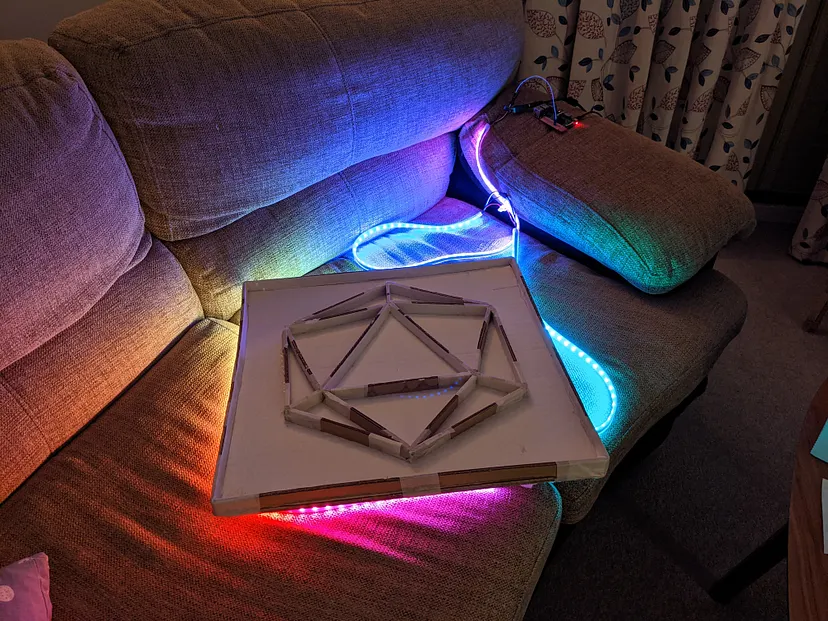
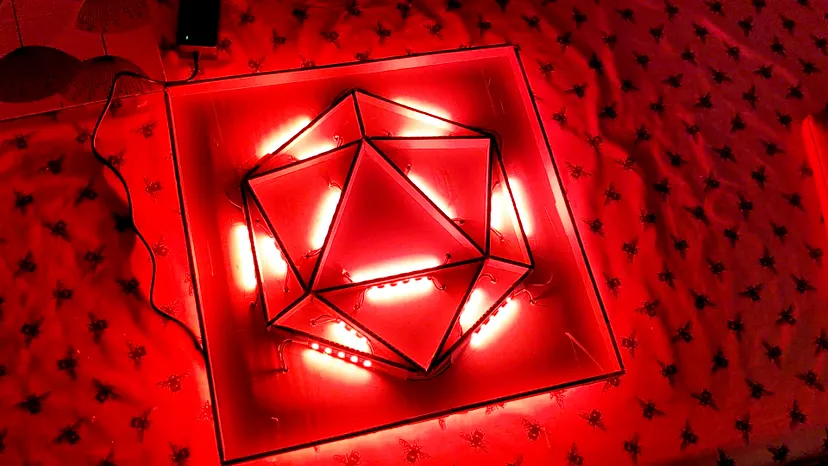
I commandeered a panel of my cardboard planetarium and built a frame with a depth of 2cm. Wood may be a more obvious choice for this purpose, but double walled cardboard certainly seemed rigid enough to support electronics. I carefully followed the lines in the print to assemble the icosahedron centre piece.
Powering the LEDs, Speakers and Raspberry Pi
I connected three one metre strips in series, each with 60 LEDs. I had expected to find a far more pronounced dimming between first and 180th NeoPixel due to voltage drop, but the difference in brightness appeared marginal.
I had also expected a far bigger current draw too — 180 LEDs × 60 milliamps equating to nearly 11 amps in total — but even at full brightness, the lights drew less than 6 amps.
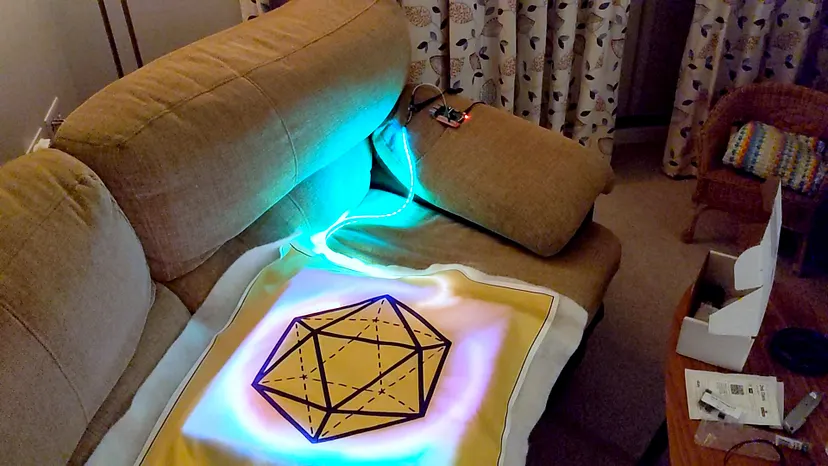
I powered the LEDs and the Raspberry Pi with a single 10-amp power supply, for once ensuring that there was a suitable capacitor across the positive and negative terminals. To connect the Pi, I cut into a USB cable and inserted the powered wires into the same terminal block as the LEDs.
After playing with the strips, and confirming that the same old CircuitPython code would work as well with 180 LEDs as it had with the NeoPixel rings, I began to snip and group the LEDs into sections. Cutting straight through the copper terminals and stripping wires was child’s play, but soldering proved to be tortuous at first. I knew that this was a necessary endeavour however if I wanted to improve, and eventually I found my groove with a series of not terrible joins.
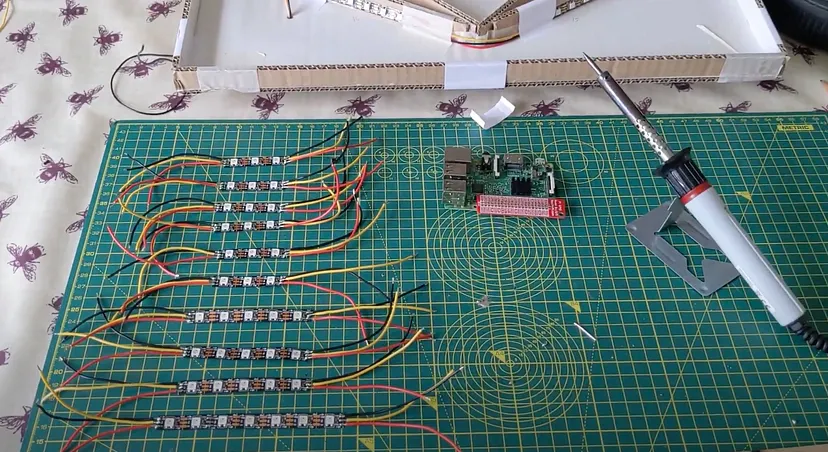
I attached the LEDs to the cardboard with thin double sided tape, but in most cases I found that hot glue was also needed. The mass of disconnected wires poking through holes made the back look like some kind of desolate battleground and so it was extremely satisfying to restore order by using heat shrink to connect each section to the next.
The chain of LEDs starts in the centre with each triangle lit with between three and seven lights, then continues around the outside of the hexagon piece — it’s the light from these ‘inner’ LEDs that shines through the fabric. The remaining lights extend the chain behind the frame to create back lighting. The data wire runs directly from the Pi through each NeoPixel right through to the last one, but I connected the power source to three different points along the chain which took care of the voltage drop, minimal as it was.
I am hoping to learn more about coordinating lights with sound, and so I bought cheap Adafruit speakers to embed in the cardboard frame. I naively thought that I’d just be able to connect them to a 3.5mm jack and plug them into the Raspberry Pi, but when I did so the resulting sound was almost inaudible. However, when connected to a USB digital to analogue converter, I found the speakers to have slightly more oomph, and it was clear that with a half decent set of speakers it would work well. In fact, the AudioQuest DragonFly USB stick, which was generously passed on to me by an audiophile neighbour, turned out to be a premium audio device, as you may hear (if you watch the video) when connected to my living room speakers.
Using CircuitPython, each LED can be programmed with red, green and blue values — it is easy to set a colour for the whole thing and even without the fabric this looked very cool. With a few simple Python functions, it is also possible to loop through all LEDs in a section and set a colour:
1def centre(r, g, b):2 for x in range(0, 7):3 pixels[x] = (r, g, b)When the frame was placed against the wall, the back lighting looked effective — even during the day and without the quilt top.
Satisfied that the lights were working well, and that nothing had caught fire, I set about carefully putting the quilt cover in position on the frame. I trimmed the excess fabric, folded the edges over and stuck them to the cardboard with packaging tape. On flipping it over, I was impressed with its final appearance, and my first experiments showed that the light doesn’t bleed between sections.
Music Synchronisation
In terms of music sequencing and visualisation, I know I am lacking a whole universe of knowledge, but I found Pygame — a set of Python modules designed for writing video games and which has a very simple method to play sound files — and used it to run a simple sequence of lights matched to recordings of notes on a keyboard:
1centre(255, 0, 0)2pygame.mixer.music.load('1.wav')3pygame.mixer.music.set_volume(1)4pygame.mixer.music.play(-1)5pixels.show()6time.sleep(0.5)7pygame.mixer.music.stop()A sandbox for future learning
I am hoping that I can use this quilt as a sandbox to experiment with holiday light show systems like Falcon Pi Player with xLights. However, I did have a quick and dirty go at creating a sequence using Pygame. Having roughly worked out the tempo of this song, I created different sequences in different threads which are triggered every four beats. At the 80th beat, I varied the threads selected in an attempt to match the bass drop. The result is entertaining, but fully amateur. It’s akin to watching a row of cars with their turn signals seemingly in sync but which before long drift off to different rhythms only to then loop back to synchronisation. It’s a start!
The quilt is also a sandbox for future experiments with IoT, MQTT, Flask and controlling physical devices from webservers, as well as a chance to dip my toes into a pool of Arduino devices. Perhaps my quilt could become my own upbeat smart speaker, or I could connect it to my doorbell like Bitluni’s lamp.
As a learning project, this RGB icosahedron quilt has been perfect. It’s helped me get a better understanding of what’s possible!
Taking quilt-based illumination further with foundation paper piecing, MQTT, and real-time clock controls
If you’ve enjoyed reading about this project, please consider following me on Medium or subscribing to my YouTube Channel.